



 द्वारा

Step 1: Make your title
Pick the Type tool (T), click in the Program Monitor and type your title. Set the font, size, color, outline and shadow in the Essential Graphics or Properties panel, exactly as you normally would.
Step 2: Open Asteria
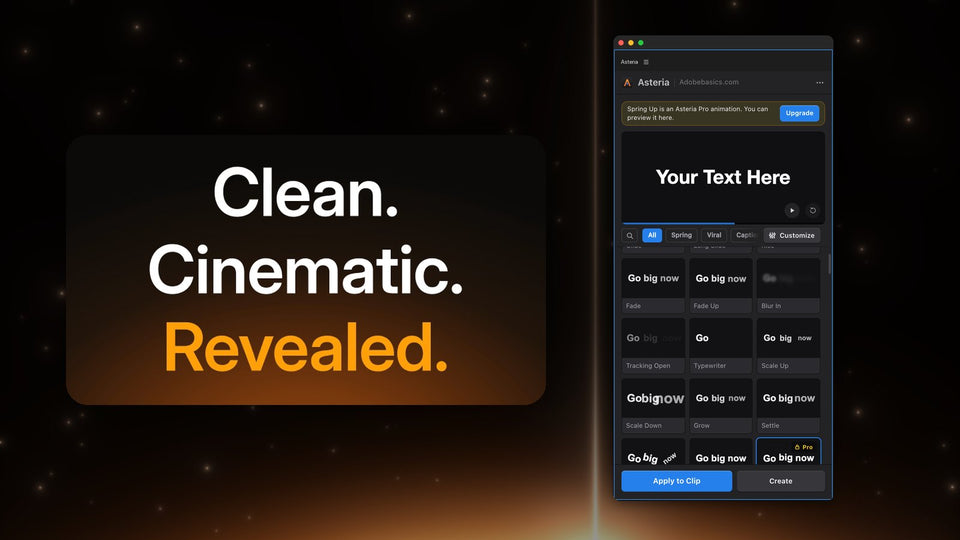
Install Asteria, then open Window › Extensions › Asteria and select your text clip on the timeline. The preview at the top of the panel shows your own words.

Step 3: Choose letter, word or line
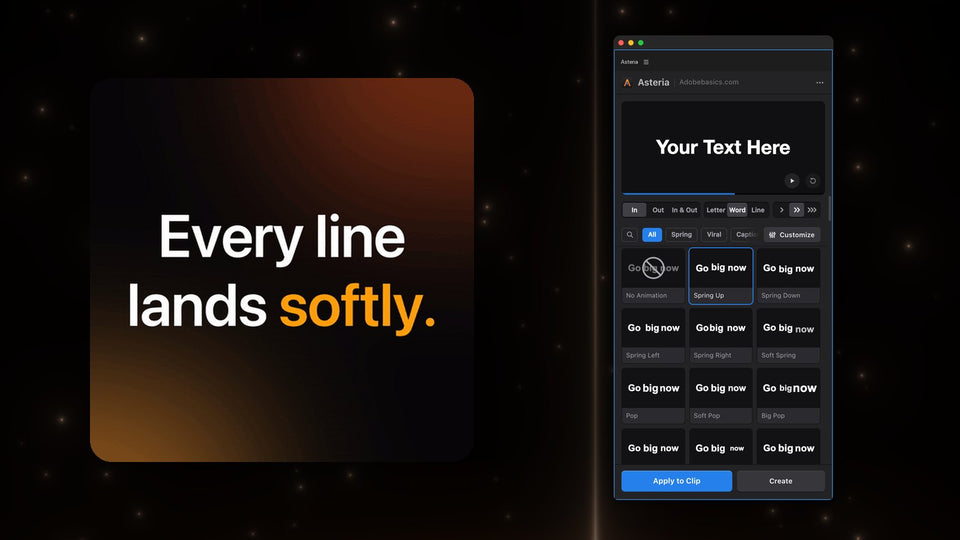
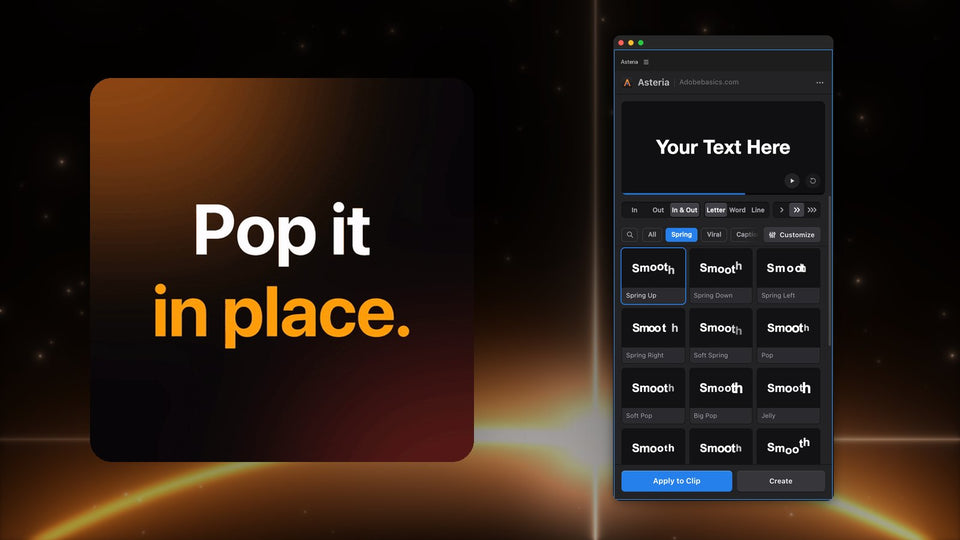
At the top of the panel, pick Letter, Word or Line. Letter is great for short, punchy words, Word for hooks and captions, and Line for longer titles and quotes. Then pick In, Out or In & Out.

Step 4: Click an animation
Hover over the tiles and each one plays. Start with Spring Up for a smooth, bouncy entrance or Pop for a word that hits. Click a tile, then press Apply to Clip. The animation is on your clip, with your words, font and position kept.
Want a new title instead? Press Create and Asteria puts an animated title on a new track.
Step 5: Fine-tune the motion
In Asteria Pro, open Customize and drag a value while the preview follows. Speed sets how fast it moves, Bounce how much it overshoots, and Stagger the delay between letters or words. Order decides who goes first: first, last, center, edges or random.
Like the result? Save it as a custom animation and it is in your library for every video after this one.

Why not keyframes?
Keyframes give you full control, but a five-word title with a bounce per word can take 15 minutes. If you still want to ease keyframes by hand for other animations, read how to ease keyframes in Premiere Pro.
Asteria Standard ($69.99) gives you 40 essential animations, and Asteria Pro ($79.99) all 206 with the settings and custom animations. Both work in Premiere Pro 2021 to 2027 on Windows and Mac.
Want your titles to move without keyframes? Get Asteria for Premiere Pro.