



 بقلم

Step 1: Pick a cinematic font
Choose a clean serif or a thin, wide sans serif. In the Properties panel, raise the tracking (letter spacing) to around 200 to 400 for that wide, film-poster look, and keep the text white or a soft off-white.
Step 2: Frame it
Center the title and keep it small, about a third of the frame width. Empty space around the words is what makes them feel expensive. For extra mood, add cinematic black bars.
Step 3: Reveal it line by line
- Select the text clip and open Window › Extensions › Asteria.
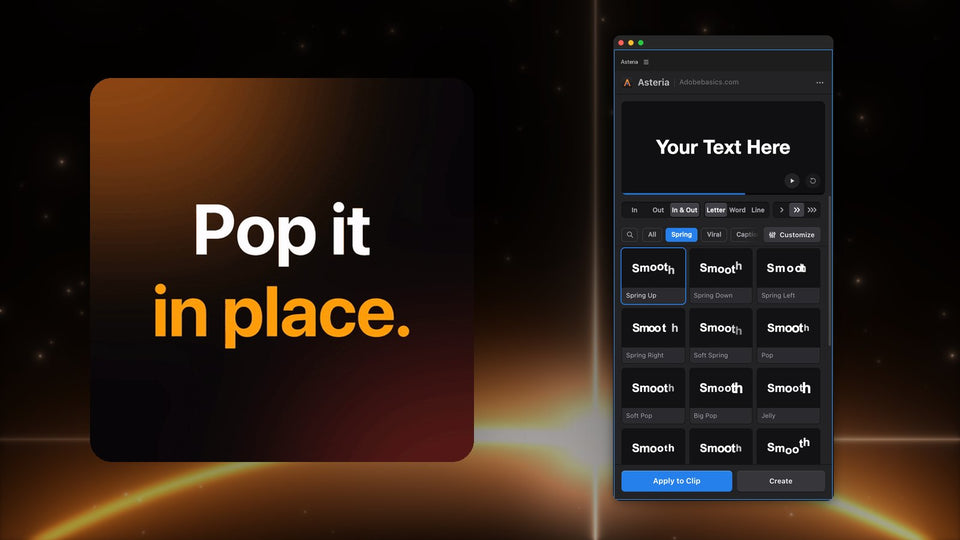
- Pick Line, so each line arrives as one piece, one after the other.
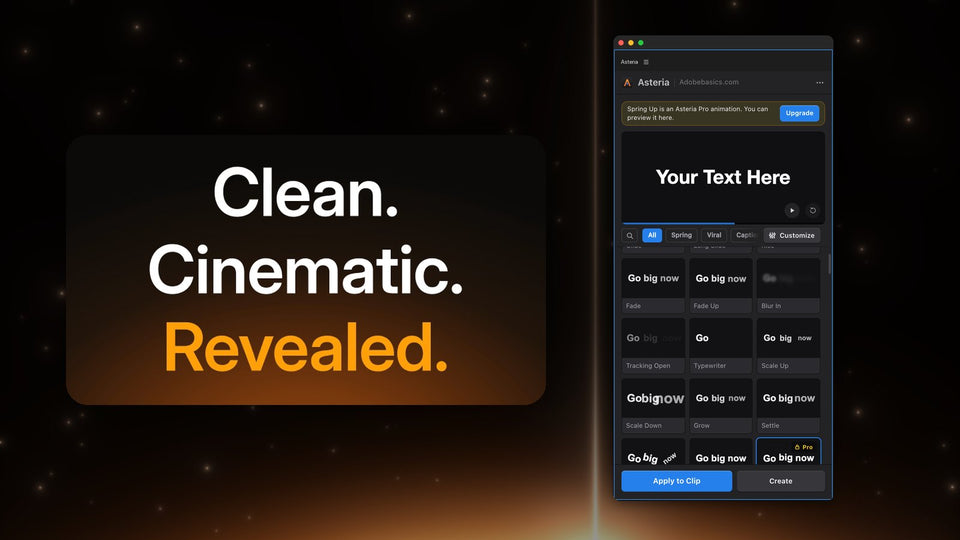
- Choose In & Out and hover over the reveal tiles to preview them on your own words.
- Click one and press Apply to Clip.
For a single word, try Letter with a soft reveal instead: the letters slide up out of the edge one by one.

Step 4: Slow it down
Cinematic titles move slower than social titles. In Pro, lower the Speed and set Bounce to zero so the lines settle without overshooting. A small Stagger keeps the lines in sequence without feeling busy.

Step 5: Hold, then leave
Let the title sit still for at least two seconds, so it can be read twice. The Out part of In & Out takes it away the same quiet way. If you prefer a soft fade, see cinematic text fade in Premiere Pro.
Where to use it
- Openers and chapter titles.
- Locations and dates in travel films and documentaries.
- Quotes and end cards.
The reveal animations and settings are part of Asteria Pro ($79.99), with all 206 animations and custom animations to keep the same reveal across a whole film. Asteria Standard ($69.99) has 40 essentials, and its Fade Up, Blur In and Tracking Open suit cinematic titles too.
Want a cinematic reveal in one click? Get Asteria for Premiere Pro.