

 by
by 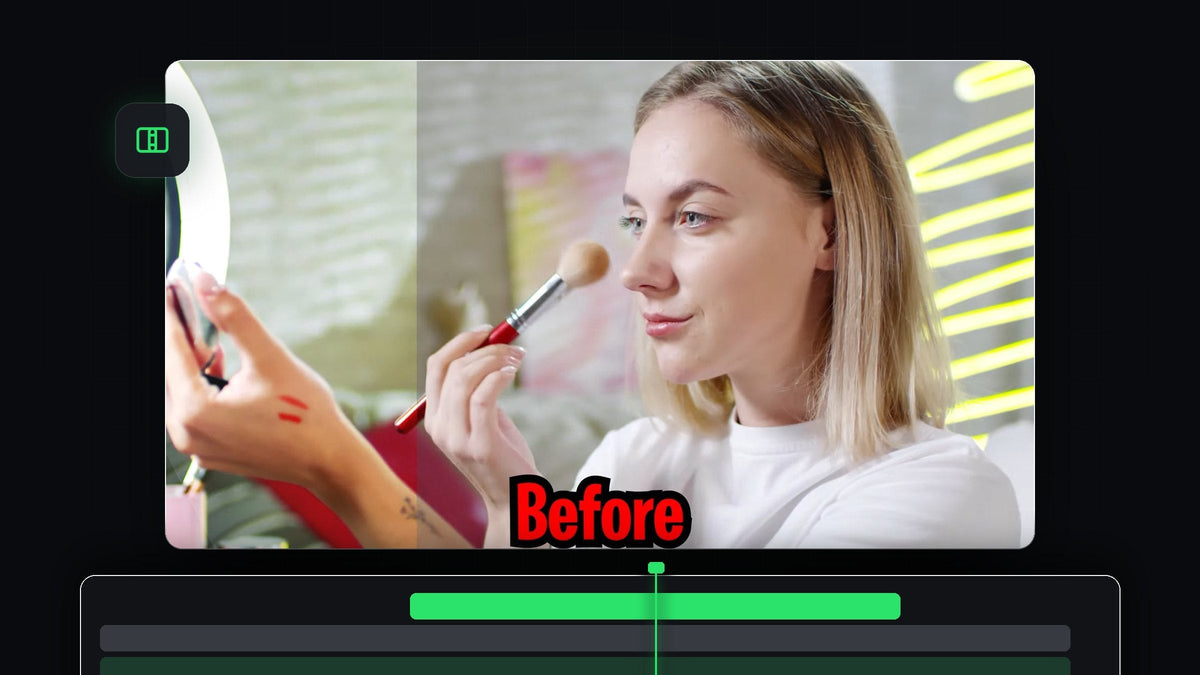
Watch the tutorial
Step 1: Stack your before and after clips
Put the Before clip on V1 and drag the After clip onto V2, directly above it, so both start at the same point. The top clip is the one that will be wiped away to reveal the lower one, so make sure both clips have the same length and framing. If your after footage is a graded or retouched copy of the original, this lines up perfectly.

Step 2: Add the Wipe transition to the top clip
Open the Effects panel with Window > Effects and search for Wipe. Under Video Transitions > Wipe, click and drag the plain Wipe transition onto the start of your After clip on V2. Premiere Pro treats a transition at the start of a clip as a reveal, so the picture underneath is uncovered as the wipe runs.

Faster with BetterFX: skip the Effects panel. Press your BetterFX shortcut, type the first letters of Wipe and press Enter to apply it to the selected clip. Get BetterFX
Step 3: Set the wipe duration and direction
To change how quickly the reveal happens, hover over the edge of the transition in the timeline and drag it left or right. Shorter feels punchy, longer feels smooth. Then click the transition and open Effect Controls. The little arrows around the A / B preview change the direction the wipe starts from, so you can pick left to right, top to bottom or any other edge that suits your footage.

Step 4: Add the Before and After labels
Choose the Type Tool from the toolbar (or press T), click in the Program Monitor and type Before. Switch to the Selection Tool to resize and reposition the text. Drag the text clip above the clips in the timeline and trim it so it lasts exactly as long as the footage.

Step 5: Duplicate the label and wipe it too
Hold Alt (Option on Mac) and drag the text layer up to duplicate it, placing the copy above the After clip. Double-click the copy in the Program Monitor, change the words to After and move it into position. Now add the same Wipe transition to the top text layer, so each label appears and disappears together with its clip.
Step 6: Line up the wipes
Zoom into the timeline and park the playhead where the first wipe ends. Trim the start of the text wipe so it begins and ends at the same frames as the clip wipe. When the two transitions match, the label changes from Before to After exactly as the picture does.

Tips
- Keep clips identical in length. If the before and after clips drift out of sync, the comparison stops being convincing.
- Try other directions. A vertical wipe works well for portrait footage, a horizontal one for landscape.
FAQ
How do I make a before and after in Premiere Pro?
Stack the two versions of your clip on separate tracks, add the Wipe transition to the start of the top clip, then adjust its duration and direction.
Can I use this for color grading comparisons?
Yes. Use the ungraded footage as the bottom clip and the graded version on top. The same steps work for any edit or retouch.
Why can I not see the wipe happening?
Make sure the transition sits at the start of the top clip and that the clip underneath is on the track below it, with both overlapping on the timeline.
Want to apply effects like this without digging through panels? Try BetterFX and add any effect with a shortcut.


