by
by 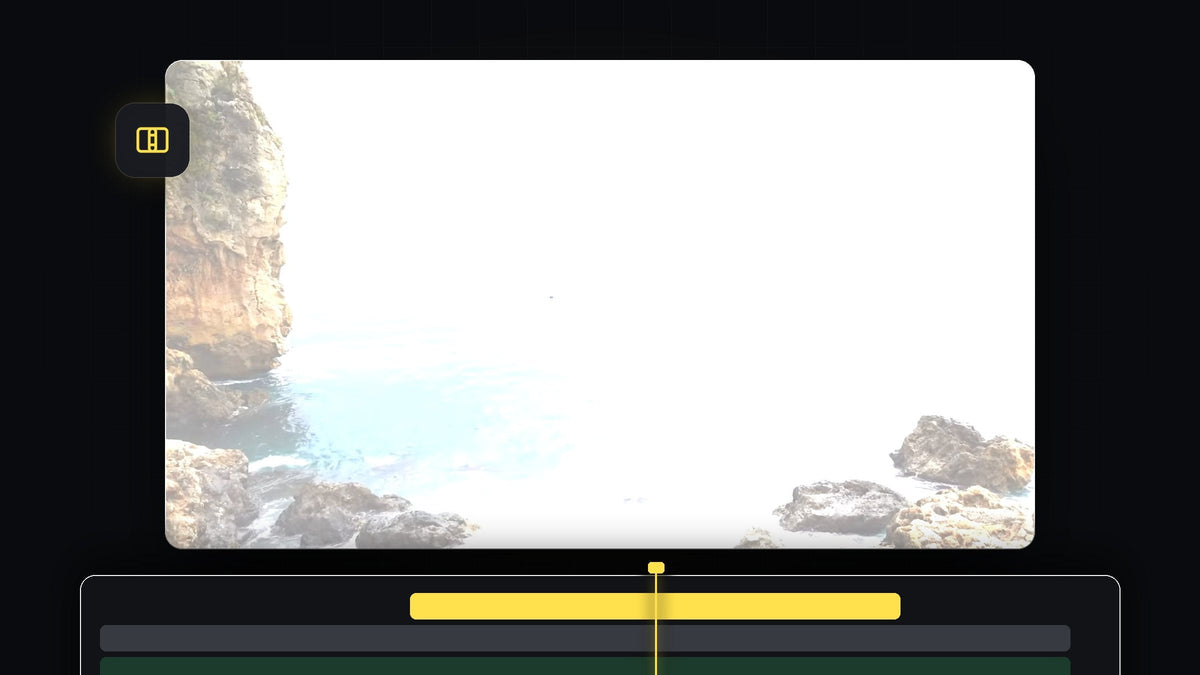
Watch the tutorial
Step 1: Create an adjustment layer
Go to the Project panel and click the New Item icon at the bottom. Choose Adjustment Layer and click OK. Then drag the new adjustment layer from the Project panel onto the track above your two video clips in the timeline. The effect you add to it will apply to everything underneath.

One click with Mako: the free Mako panel adds an adjustment layer over the selected clips, at the playhead, on the first free track, in one click. Get Mako for free
Step 2: Place the playhead on the cut
Position the playhead exactly on the cut between your two clips. Zoom into the timeline if you need more precision. The adjustment layer should stretch over both clips, so it covers the cut.

Step 3: Trim the adjustment layer to 10 frames on each side
Now hold Shift and press the Left Arrow key twice. Each press with Shift jumps several frames, and two presses move the playhead about 10 frames back. Make a cut on the adjustment layer there, for example with the Razor tool or Ctrl+K (Cmd+K on a Mac) with the adjustment layer's track targeted.
Move the playhead back to the cut between your clips, then hold Shift and press the Right Arrow key twice to go 10 frames forward. Make another cut. Finally, select the leftover pieces of the adjustment layer on either side and delete them. You are left with a short piece centered on the cut.

Step 4: Add the ProcAmp effect
Open the Effects panel and search for ProcAmp. It lives under Video Effects > Adjust. Drag it onto the short adjustment layer in the timeline.
Faster with BetterFX: skip the Effects panel. Press your BetterFX shortcut, type the first letters of ProcAmp and press Enter to apply it to the selected clip. Get BetterFX
Step 5: Keyframe the Brightness
With the adjustment layer selected, open Effect Controls. Move the playhead to the start of the adjustment layer and click the stopwatch next to Brightness to set the first keyframe. Leave its value at 0. Then move the playhead to the cut and set Brightness to 100. The picture turns white at the cut.

Step 6: Bring the brightness back down
Move the playhead to the end of the adjustment layer. Click the Reset button next to Brightness to change the value back to 0. A keyframe is added automatically, so the brightness now ramps up to the cut and falls back down after it. Play it back to see the flash. If you want it softer, shorten or lengthen the adjustment layer.

Tips
- Shorter feels punchier. A flash that lasts only a few frames hits harder, while a longer one feels dreamy.
- Cut on the beat. Land the brightest frame on a beat in your music or on a sound effect.
- Try another look. For a stylized transition, see our object flash transition.
FAQ
How do I make a white flash transition in Premiere Pro?
Place a short adjustment layer on the cut, add ProcAmp to it and keyframe Brightness from 0 up to 100 at the cut and back to 0.
Where is ProcAmp in Premiere Pro?
Search for it in the Effects panel. It is under Video Effects > Adjust.
Can I use a color other than white?
Yes. Lower the brightness instead and try a color matte or a color effect on the adjustment layer for a tinted flash.
Want ready-made transitions with sound? Try our free glitch transitions with sound.