

 by
by 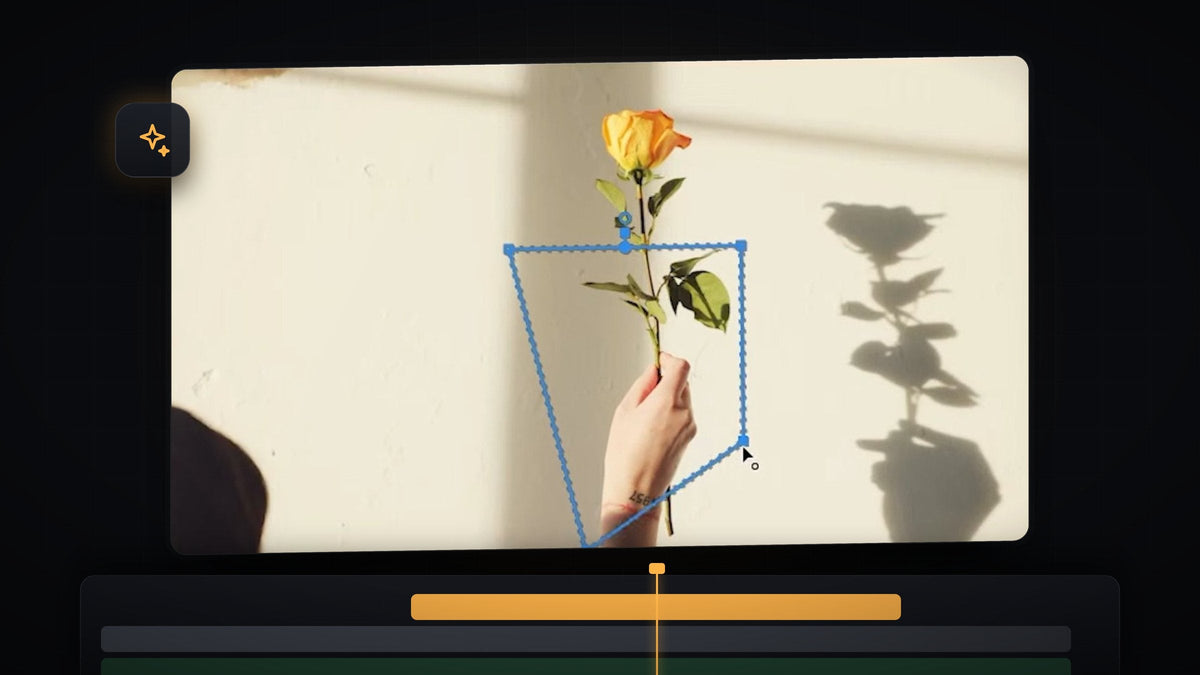
Watch the tutorial
Step 1: Add Gaussian Blur to your clip
Open the Effects panel (Window > Effects) and type gaussian blur into the search box. Drag Gaussian Blur from Video Effects > Blur & Sharpen onto the clip you want to blur. Be careful to pick the one in the Blur & Sharpen folder and not the Convolution Kernel version.

Faster with BetterFX: skip the Effects panel. Press your BetterFX shortcut, type the first letters of Gaussian Blur and press Enter to apply it to the selected clip. Get BetterFX
Step 2: Draw a mask around the object
Select the clip and open Effect Controls. Under Gaussian Blur you will see three small icons: an ellipse, a rectangle and a pen. Click the Pen tool, then click in the Program Monitor to place points around the object you want to blur. Finish by clicking the first point to close the shape. You can also use the ellipse or rectangle if they fit the object better.

The effect now only applies inside the mask, so nothing looks different yet because the blur amount is still zero.
Step 3: Increase the blurriness and soften the edge
In Effect Controls, raise Blurriness until the object is hidden as much as you want. The video goes up to around 91, but you can choose whatever strength suits your shot. Then open the Mask section and increase Mask Feather. A higher feather fades the blur gradually into the sharp area, so the edge of the mask does not show. The video ends up at around 39.

Step 4: Track the mask so it follows the object
If the object moves, or the camera does, the blur has to move with it. Next to Mask Path you will find tracking buttons. Go to the first frame of the clip and click Track selected mask forward. Premiere shows a Tracking window with a progress bar and moves the mask frame by frame.

When tracking finishes, play the clip back and watch the blurred area. If the mask drifts at any point, scrub to that frame, adjust the mask, and track again from there.
Tips
- Make the mask a little bigger than the object. With a feathered edge, a slightly generous mask hides the object completely without a visible outline.
- Track in small sections for fast motion. If the object changes direction or speed, retrack from the problem frame instead of the whole clip.
- Use mosaic for a different style. The same mask idea works with other blur effects if you want a pixelated look.
FAQ
How do I blur only part of a video in Premiere Pro?
Apply Gaussian Blur, draw a mask with the pen, ellipse or rectangle tool under the effect in Effect Controls, and raise Blurriness. Only the area inside the mask will be blurred.
How do I make the blur follow a moving object?
Use the tracking buttons next to Mask Path. Track selected mask forward analyzes the clip and moves the mask for you. For faces specifically, see our guide to blurring a face in Premiere Pro.
Why can I see the edge of my blur?
Your mask feather is too low. Increase Mask Feather so the blur fades smoothly into the rest of the image.
Want effects like this a few keystrokes away? BetterFX lets you search and apply effects without leaving the timeline.




