by
by 
Watch the tutorial
Step 1: Duplicate your video clip
Hold Alt (Option on a Mac) and drag your clip up one track. You now have two identical layers. The bottom one stays untouched, and the top one will become the outline.

Step 2: Add the effects to the top layer
Open the Effects panel and apply four effects to the top clip: Find Edges (under Video Effects > Stylize), Tint, Gaussian Blur and VR Glow (under Video Effects > Immersive Video). You can search for each by name.
Faster with BetterFX: skip the Effects panel. Press your BetterFX shortcut, type the first letters of Find Edges and press Enter to apply it to the selected clip. Get BetterFX
Step 3: Invert Find Edges and color the outline
With the top clip selected, open Effect Controls and enable Invert under Find Edges. The picture turns into white outlines on black. Next, to choose the color of the glow, click the Map White To swatch under Tint, pick your color and click OK. The video uses a bright red, but any neon color works.
Step 4: Soften the outline and add the glow
To smooth out the outline, increase Blurriness in Gaussian Blur. The video uses a value of around 6 at first and about 11 in the finished version. Then, to add glow, go to VR Glow and set Luma Threshold to 0.1, then raise Glow Brightness to 1.7.


Step 5: Blend the outline with the original video
Right now the outline hides the clip below it. In Effect Controls, open the Blend Mode under Opacity and set it to Screen. The black parts of the outline layer disappear, and only the glowing lines stay on top of your original footage.
Step 6: Animate the outline
Move the playhead to where you want the effect to start and click the stopwatch next to Scale and Opacity. Move back one frame with the Left Arrow key and set Opacity to 0% so the outline is hidden before the animation begins.
Then move to the point where the animation should finish, raise Scale to around 180 and set Opacity back to 0%. The outline now grows outward and fades away.

Step 7: Ease the keyframes
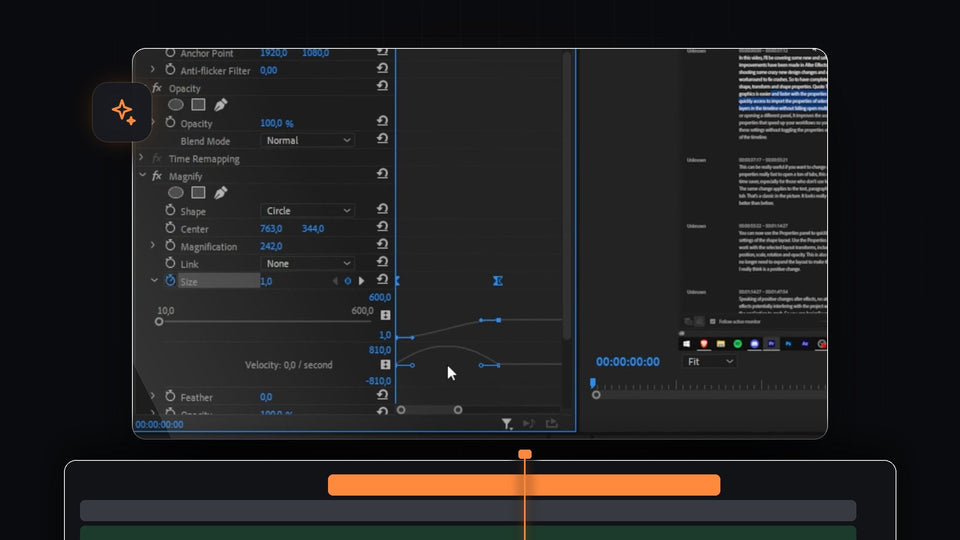
To smooth the whole animation, select all keyframes, right-click one and choose Ease In, then do the same for Ease Out. To fine-tune the speed, expand the arrow next to Scale and click a keyframe to show the blue Bezier handles. Dragging both handles all the way to the left makes the animation start very fast and then slow down.
Smoother with EaseFlow: select the keyframes and apply a real easing curve in one click instead of dragging Bezier handles. See EaseFlow

Tips
- Try other colors. Change Map White To to match the mood of your scene.
- Use clips with clear edges. Anime and clean animation show the cleanest outlines.
- Add a second pulse. Duplicate the outline layer and offset it for a double ripple, like our aura glow effect.
FAQ
Where is Find Edges in Premiere Pro?
Search for it in the Effects panel. It sits under Video Effects > Stylize.
Why does the outline cover my video?
Set the top layer's Blend Mode to Screen so the black areas become transparent.
How do I change the color of the outline?
Change the Map White To color in the Tint effect.
Want ready-made glows? Try our free glow presets.