by
by 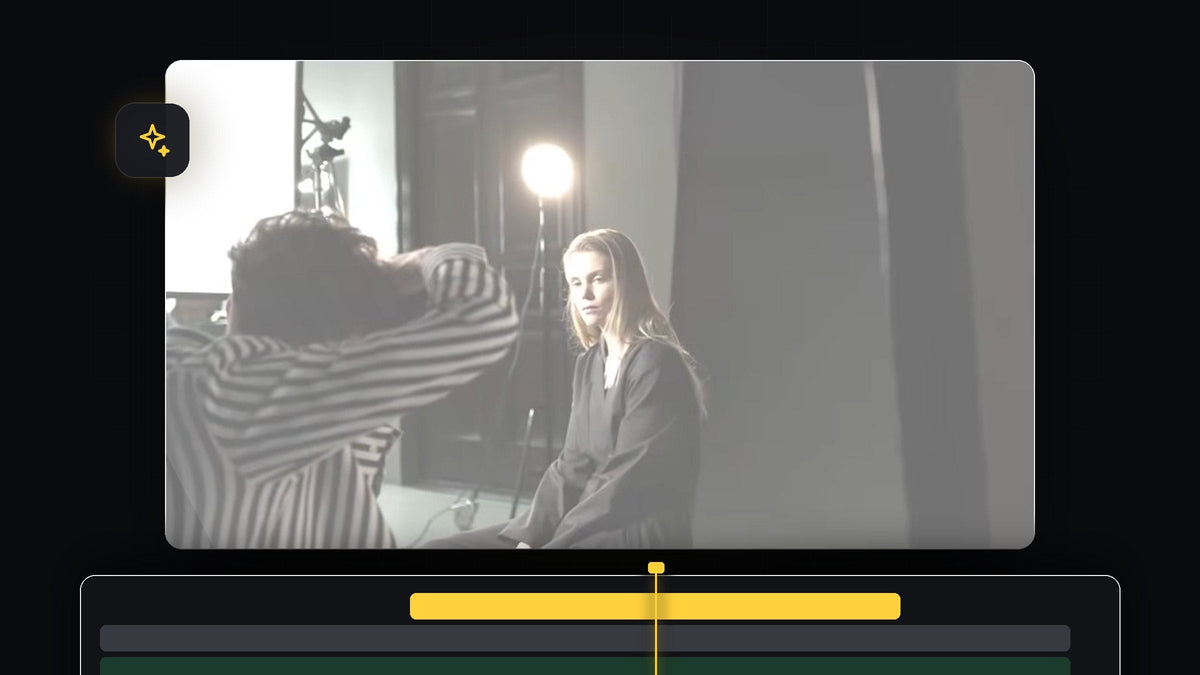
Watch the tutorial
Step 1: Set up your clips and find ProcAmp
Place the clips you want to cut between on your timeline. In the video, three clips sit back to back on one track. Open the Effects panel (Window > Effects) and type ProcAmp into the search box. You will find it under Video Effects > Adjust.

Faster with BetterFX: skip the Effects panel. Press your BetterFX shortcut, type the first letters of ProcAmp and press Enter to apply it to the selected clip. Get BetterFX
Drag ProcAmp onto the first clip in the timeline.
Step 2: Add a Brightness keyframe at the start of the clip
With the same clip still selected, open the Effect Controls panel. Move the playhead to the very start of the clip, then click the stopwatch next to Brightness under ProcAmp. That is the Toggle animation button, and it creates your first keyframe.

Step 3: Turn the brightness up to create the flash
Still on that first keyframe, change the Brightness value to around 40. The picture washes out toward white, which is the camera flash look. If your footage is already bright, you can use a slightly lower number, and if it is dark you may want a bit more.
Step 4: Fade the flash back to normal
Move the playhead forward about 10 frames. Then click the Reset icon, the curved arrow next to Brightness, to set it back to 0. Premiere Pro adds a second keyframe, and the image now starts blown out and settles back to normal. Play it back to check the timing.

If the flash feels too long, drag the second keyframe closer to the first one. A shorter flash feels snappier and closer to a real camera.
Step 5: Copy the effect to your other clips
You do not need to rebuild the flash on every clip. In Effect Controls, click the word ProcAmp to select the whole effect and press Ctrl + C (Cmd + C on Mac). Next, select the other clips in the timeline and press Ctrl + V (Cmd + V). The effect and both keyframes land on every selected clip, so each cut gets its own flash.

Step 6: Save the flash as a preset
To save time on future projects, right-click ProcAmp in Effect Controls and choose Save Preset. Give it any name you like and click OK. From now on you can search for that name in the Effects panel and drop it onto a clip, with the keyframes already built in.

Tips
- Keep it quick. A flash of around 10 frames feels natural, so avoid making it much longer unless you want a dreamy look.
- Add a sound. A camera shutter sound effect on the first frame of each clip makes the flash feel real.
- Combine it with other edits. Pair the flash with a quick zoom transition for extra punch.
FAQ
How do I make a camera flash effect in Premiere Pro?
Apply ProcAmp to a clip, keyframe Brightness up to around 40 at the start, then bring it back to 0 about 10 frames later.
Can I use the camera flash on many clips quickly?
Yes. Copy the ProcAmp effect and paste it onto all the other clips, or save it as a preset and apply it from the Effects panel.
Does this work with other effects instead of ProcAmp?
It does. Any effect with a brightness or exposure value, such as Lumetri Color, can be keyframed the same way, but ProcAmp is the simplest option.
Want more ready-made looks? Browse the Ultimate Premiere Pro Presets pack with over 500 presets.