

 by
by 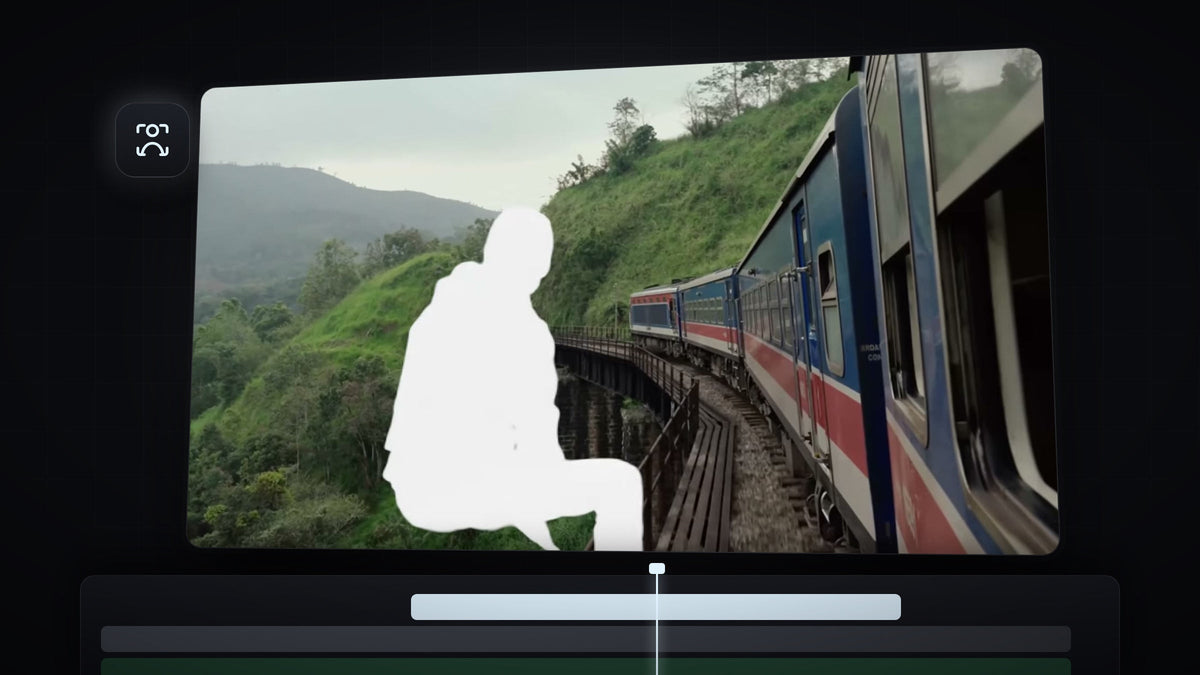
Watch the tutorial
Step 1: Duplicate the clip
Hold Alt (Windows) or Option (Mac) and drag your clip up one track to make a copy directly above the original.

Step 2: Mask and track the subject on the top copy
Select the top clip, pick the Object Mask tool and click your subject in the Program Monitor. In Effect Controls, click Track forward and back under the object mask so it follows the subject through the clip.

Step 3: Assign the mask to Opacity
Drag the object mask onto Opacity. The top layer now contains only the subject, sitting exactly over the original clip.

Step 4: Add Dip to White to the masked layer
In the Effects panel, open Video Transitions and drag Dip to White onto the edit of the masked top layer. Because the transition only sits on the subject layer, the subject flashes white while the shot underneath cuts normally.

Repeat the duplicate, mask and track steps for the next clip if you want its subject to flash too.
Step 5: Adjust the flash
Drag the edges of the transition to make the flash shorter or longer. Select the transition to fine-tune it in Effect Controls. In Premiere Pro 2026, Dip to White includes a curve editor and settings like Blur Duration, Dissolve Time and Blur Amount, so you can shape how the flash builds and fades.

Tips
- Cut on the beat. Place the flash on a strong beat or a whoosh sound effect to make it hit harder.
- Keep it short. A flash of a few frames looks punchy. Long flashes feel slow.
- Ready-made transitions. The Ultimate Premiere Pro Preset Pack includes drag-and-drop transitions, zooms and shakes to combine with this effect.
FAQ
Why does the whole frame flash instead of just the subject?
The transition is probably on the bottom clip. Put Dip to White only on the masked top layer that contains the subject.
Do I need a plugin for this transition?
No. Everything here is built into Premiere Pro: the Object Mask tool, mask tracking and the Dip to White transition.
More object mask effects: text behind an object and the text outline effect.


