

 by
by 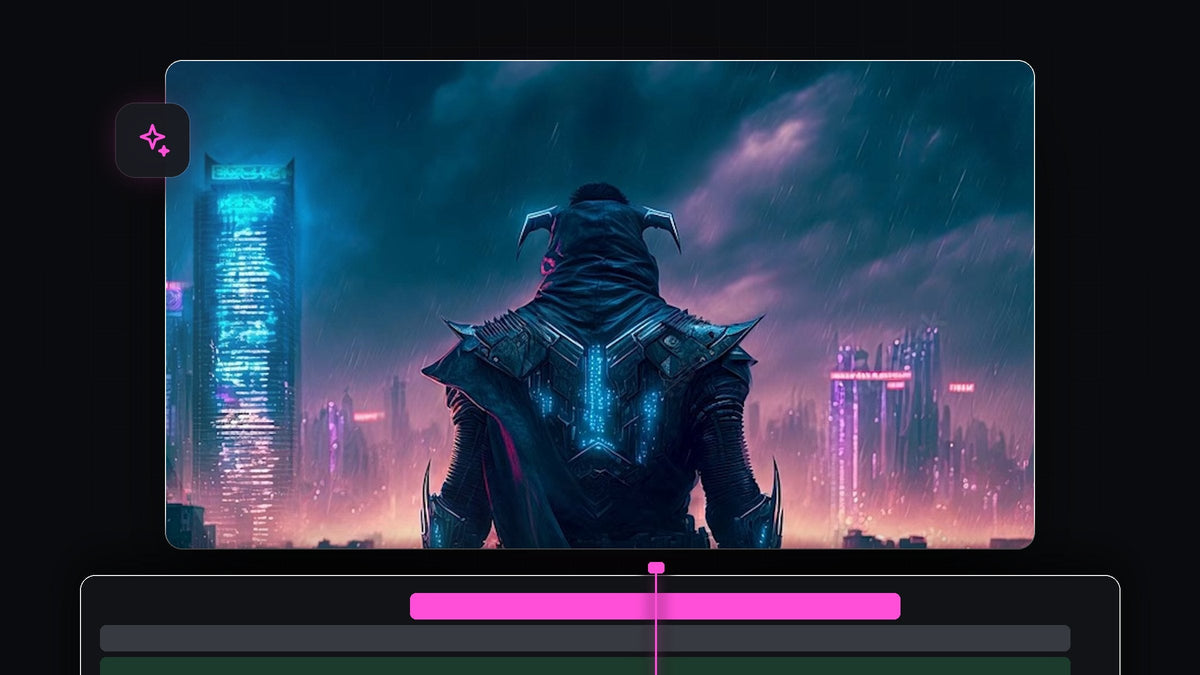
Watch the tutorial
Step 1: Zoom the image in with a scale keyframe
Select your image in the timeline and open Effect Controls. Make sure the playhead is at the start of the clip. Click the stopwatch next to Scale and set the value to 120.

Step 2: Set the end value to 100
Move the playhead to the end of the clip and change Scale to 100. The image now slowly zooms out over the length of the clip. This is the background layer.
Smoother with EaseFlow: select the keyframes and apply a real easing curve in one click instead of dragging Bezier handles. See EaseFlow
Step 3: Duplicate the clip
Hold Alt (Option on Mac) and drag the clip up one track with your mouse to duplicate it. Make sure the top clip is selected afterward.

Step 4: Make the top layer zoom more
With the top clip selected, jump to the second keyframe using the arrow next to Scale in Effect Controls and change the value to 140. Because this layer will end up as the foreground, it needs to move more than the background. That difference in speed is what creates the parallax.

Step 5: Mask the subject on the top layer
Move the playhead to the start of the clip. In Effect Controls, under Opacity, click the Free Draw Bezier tool (the pen icon). In the Program Monitor, draw a rough outline around your subject by clicking points around it. Connect the last dot to the first dot to close the mask.

Step 6: Soften the mask edge
Back in Effect Controls, open the mask settings. Set Mask Feather to around 70 and Mask Expansion to around 20. The feather hides the mask edge and the expansion grows the mask slightly so no hard border shows around the subject.

Play the clip back. The subject zooms faster than the background, and the scene suddenly has depth.
Tips
- Trace loosely. The feather does most of the blending, so you do not need a perfect outline.
- Add transitions between clips. Parallax shots look great chained together. See our guide to easing keyframes for a smoother feel.
- Try other values. The difference between the two scale values controls how strong the effect looks.
FAQ
What image works best for a parallax effect?
Images with a clear subject and a distinct background, such as a character in front of a skyline, work best.
Do I need After Effects for parallax?
No. This version uses only scale keyframes, duplicate layers and a mask inside Premiere Pro.
Why does my mask edge look harsh?
Increase Mask Feather and add a little Mask Expansion until the edge disappears.
For keyframe-heavy edits like this one, try EaseFlow.




