

 by
by 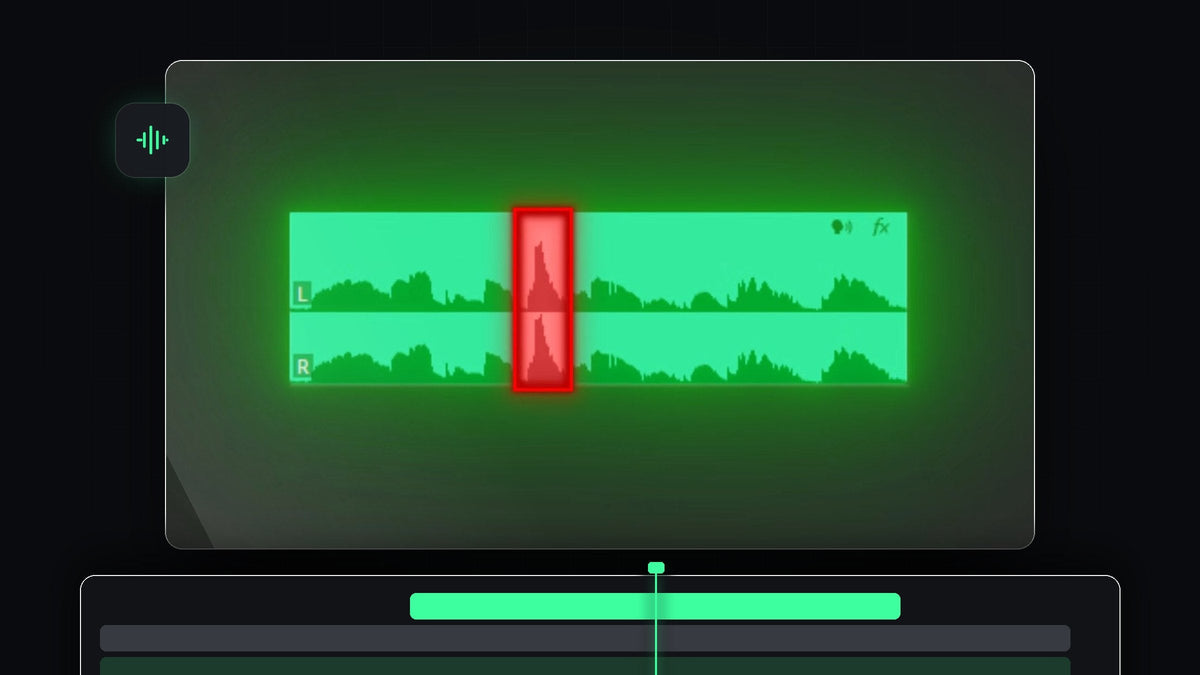
Watch the tutorial
Step 1: Find the pop in the waveform
Zoom in on your audio clip on the timeline and look at the waveform. A pop appears as a short, tall spike that sticks out from the surrounding speech. Play the clip to confirm it is the sound you want to fix.

Step 2: Cut on both sides of the pop
Use the Razor Tool (shortcut C) or press Ctrl + K (Cmd + K on Mac) at the playhead to create a cut on both sides of the pop sound. This splits the audio into three pieces and isolates the problem. Now the fix only affects the short middle clip, not your whole recording.

Step 3: Open Essential Sound
Select the short audio clip with the pop. Then open the Essential Sound panel from Window > Essential Sound. Make sure the clip is tagged as Dialogue, as in the image. You will see sections such as Enhance Speech, Loudness, Repair, Clarity and Creative.

Step 4: Turn on Reduce Rumble
Open the Repair section and switch on Reduce Rumble. Premiere Pro describes it as a way to reduce low-frequency sounds and plosives, which is exactly what a pop is. Play the audio again and listen if it is better.

Step 5: Raise the value if the pop is still there
If you can still hear a plosive, drag the Reduce Rumble slider further to the right to increase the effect. Replay after each change and stop as soon as the pop is gone. Going too far can make the voice sound thin, so aim for the smallest value that works.

Tips
- Keep the cut short. Isolating only the pop keeps the rest of your voice untouched.
- Prevent pops at the source. A pop filter and speaking slightly off-axis from the microphone help a lot.
- Clean the whole recording. For hiss and echo, see how to get better audio quality in Premiere Pro.
FAQ
What causes a pop sound in a microphone?
A burst of air from letters like P and B hits the microphone capsule and creates a low-frequency thump.
Can Premiere Pro remove plosives automatically?
Yes. Reduce Rumble in the Repair section of Essential Sound targets low-frequency sounds and plosives.
Why do I cut the clip first?
Cutting around the pop lets you apply the fix to just that moment, so the rest of your voice sounds natural.
Want a faster fix? Grab the Remove Microphone Pop download.


