

 by
by 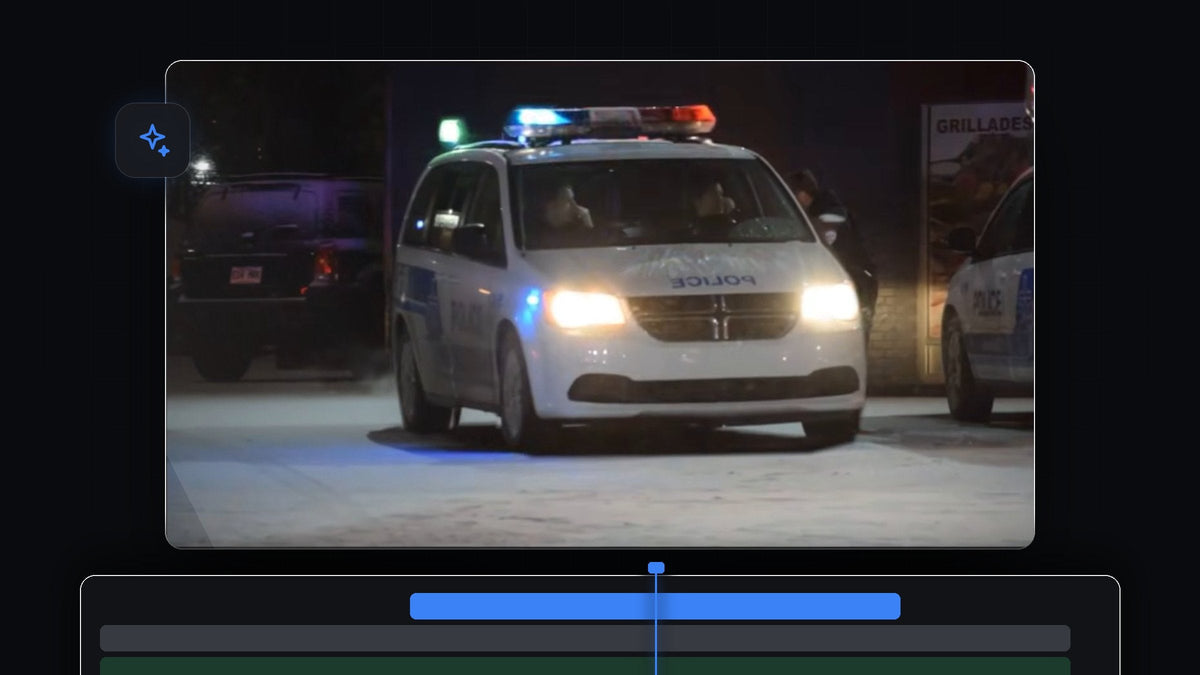
Watch the tutorial
Step 1: Duplicate your clip onto a higher track
Select your video clip, hold Alt (Option on Mac) and drag it up one track. You now have two identical copies, one above the other. The top copy will hold the shaking object, and the bottom copy stays as the steady background.

Step 2: Draw a mask around the object
Select the top clip and open Effect Controls. Under Opacity, click the Free Draw Bezier pen icon.

Now go to the Program monitor and left-click around the edge of the object you want to shake. In the video it is a police vehicle. Click to add points that follow the outline, and take your time on the curves. Remember to connect the first and last points with each other, because the mask only closes when they meet.

Step 3: Check the mask on its own
To see how clean your mask is, turn off the visibility of the bottom video track (click its eye icon). The top layer now shows only the masked object on a black background. If you spot a gap or a stray edge, move the mask points until the outline fits the object.
Step 4: Add position keyframes
Turn the bottom track back on, select the top clip and find Position under Motion in Effect Controls. Click the stopwatch next to Position to create the first keyframe.
Move forward five frames. A quick way is to press the Left Arrow key five times (or use the right arrow to go forward in the timeline). For a slower shake, jump 10 to 15 frames instead. Now change the Position values by a small random amount, for example nudging the X and Y numbers by a few pixels.

Move forward again. For a faster way to jump, hold Shift and press the arrow key once, which moves five frames at once. Make another small random change to Position. Repeat this step a few times, always with small, different values, so the object jitters in unpredictable directions.
Step 5: Copy the keyframes across the clip
Once you have a handful of keyframes, drag a box around them in the Effect Controls timeline to select all of them and press Ctrl + C (Cmd + C on Mac). Move the playhead to the last keyframe, then paste with Ctrl + V (Cmd + V on Mac). Keep pasting further along to cover the whole length of the clip.
Step 6: Scale up to hide the original
When you play it back, you will see the shaking object, but also the original object still sitting behind it. To fix this, increase the Scale value of the top clip in Effect Controls a little. The enlarged copy covers the original and the shake looks clean.
Step 7: Smooth it and soften the mask
For a smoother motion, select all the keyframes, right-click one of them, choose Temporal Interpolation and pick Bezier. The movement now flows between keyframes instead of snapping.

Smoother with EaseFlow: select the keyframes and apply a real easing curve in one click instead of dragging Bezier handles. See EaseFlow
You may also notice the mask edge looks sharp. Raise Mask Expansion a bit and then increase Mask Feather so the edges blend into the background. Play the clip and you have a shaking object effect.
Tips
- Keep the values small. A few pixels of movement look like a vibration, while large jumps look like the clip is glitching.
- Use random values. If the numbers follow a pattern, the shake looks mechanical.
- Want to shake the whole picture? See our post on the camera shake effect.
FAQ
How do I make one object shake in Premiere Pro?
Duplicate the clip, mask the object on the top layer and keyframe its Position with small random changes.
Why can I still see the original object behind the shake?
The moving copy shifts away from the original. Increase the Scale of the top clip slightly to cover it.
How do I make the shake slower or faster?
Change the gap between keyframes. Five frames gives a fast shake, and 10 to 15 frames gives a slower one.
Looking for a ready-made shake? Download the free shake transition preset and drop it on your clips.




