by
by 
Watch the tutorial
Step 1: Show the speed graph with Time Remapping
Find your clip in the timeline and right-click the small fx icon in its top-left corner. Choose Time Remapping > Speed. A thin line appears across the clip. This line is the speed graph: when it sits at the default level, your clip plays at normal speed.

Step 2: Make the video track taller
The speed line is hard to grab on a thin track. Drag the border at the top of the video track upwards to make it bigger, then zoom in on the timeline until you can see your whole clip comfortably. Larger controls make the next steps much easier.

Step 3: Add speed markers
Move the playhead to the point where you want the speed ramp to start. Hold Ctrl (Cmd on a Mac) and left-click on the speed line to add a marker, which is really a speed keyframe. Then go to the end of the section and do the same again, so you have one marker at the start and one at the end.
Step 4: Change the speed between the markers
Click the line between your two markers and drag it up to speed the footage up, or down to slow it down. A small tooltip shows the percentage as you drag. Keep adjusting until you like how the speed looks when you play the clip back.

Step 5: Split the markers and add the S-curve
At the moment the speed jumps from one level to the next. To smooth it out, zoom into the timeline and pull each marker apart. Drag the left half of the second marker to the left and the right half of the first marker to the right. This creates a short transition zone around each marker.
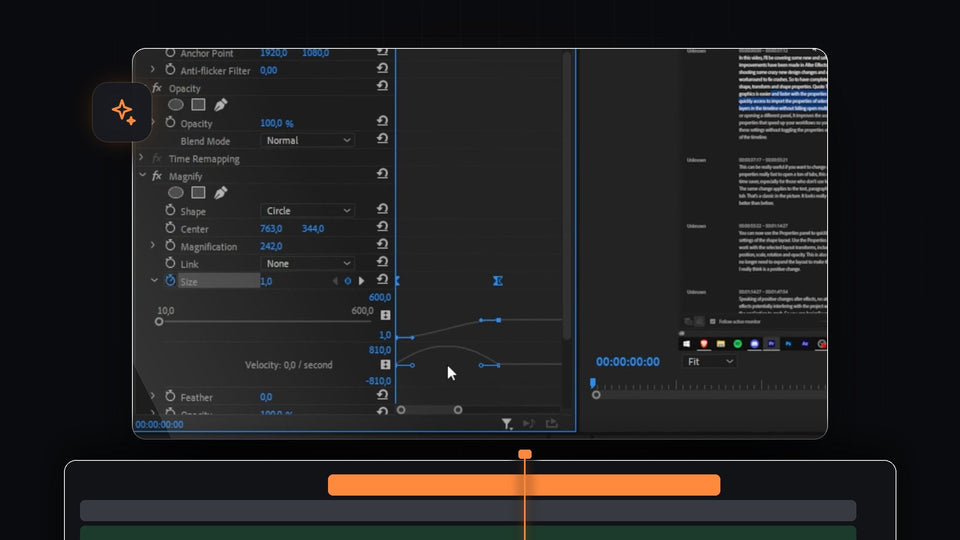
Now select the first marker and drag the small handle icon to the right, until the line forms a gentle S-curve. Then select the second marker and drag its handle to the left to get the same S-curve. Play it back and your footage now eases into the new speed and out again.

Smoother with EaseFlow: select the keyframes and apply a real easing curve in one click instead of dragging Bezier handles. See EaseFlow
Step 6: Fine-tune the ramp
You can still change the speed at any time by dragging the center line up or down, depending on whether you want it slower or faster. For an even smoother result, drag the markers a little more towards the center so the curve becomes longer and softer. If the effect looks stiff, a longer curve is almost always the fix.
Tips
- Use high frame rate footage. Slow sections look much smoother when the clip was filmed at 60 fps or more.
- Time it with the music. Start the ramp on a beat and land the slow-motion on the key moment.
- Combine with a transition. A speed ramp into a cut works great with a whip or shake. See our guide to the freeze frame transition in Premiere Pro.
FAQ
How do I make a speed ramp in Premiere Pro?
Right-click the fx icon on your clip, choose Time Remapping > Speed, Ctrl-click the speed line to add markers, drag the line between them to change speed and pull the marker handles to create a smooth S-curve.
Why does my speed ramp look jerky?
The markers are probably too close together or not split. Separate the two halves of each marker and drag the Bezier handles so the speed change forms a long, smooth curve.
Does a speed ramp change the audio?
Time Remapping affects the video clip. If your clip has audio, it usually does not follow the speed changes, so the sound is often replaced with music or sound effects.
Pair your speed ramps with a punchy cut: try the free shake transition preset.