

 by
by 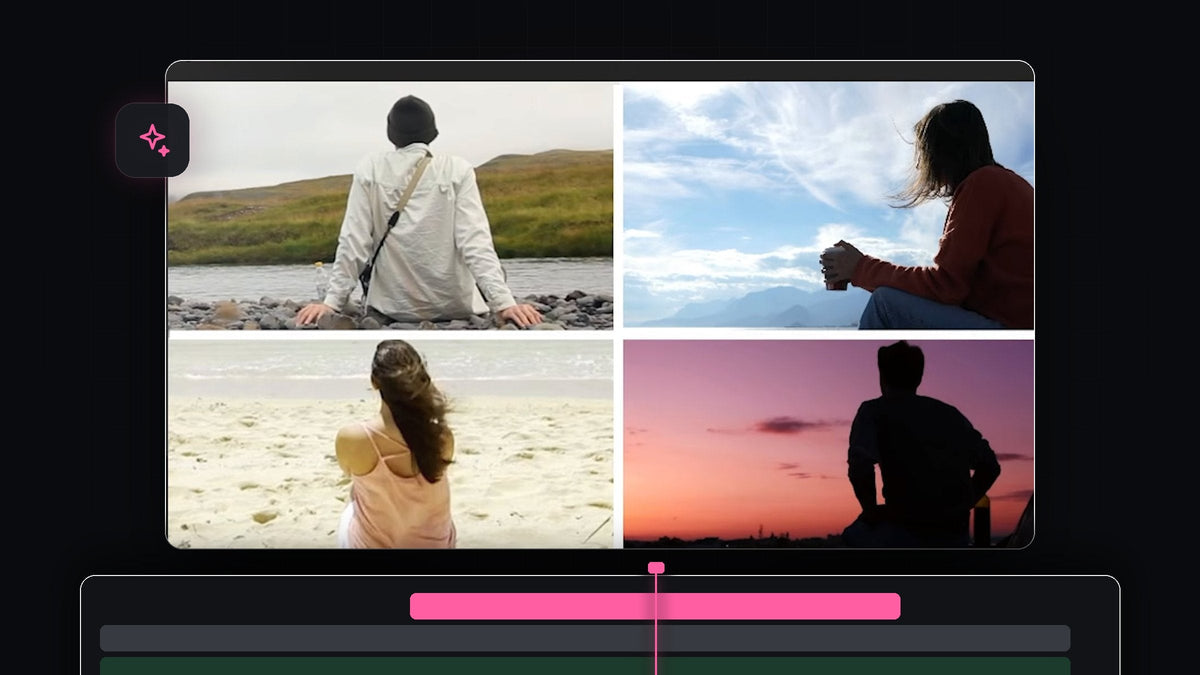
Watch the tutorial
Step 1: Stack your clips so they join one by one
Place your four clips on four tracks, video 1 on the bottom and video 4 on the top. Offset them so that each clip starts a little later than the one below it. When you play back, the first clip fills the screen and the others join it one after another, each taking its place in the split.

Step 2: Draw the dividers with the Pen tool
In the toolbar, select the Pen Tool (shortcut P). In the Program Monitor, click at the top and click at the bottom to create a long vertical line. A white line appears as a graphic layer on the timeline.

To make sure the line is centered, switch to the Selection Tool and hold Ctrl (Cmd on Mac) while dragging the line. It snaps to the center of the screen. Click the gray space around the Program Monitor to deselect everything, then draw a second line that runs horizontally and center it in the same way.

Step 3: Cut, scale and crop the second clip
Move the playhead to the start of the second video clip. Use the Razor Tool (C) to make a cut on the first video. This cut is important because it lets you change the scale and position of the first clip later, without affecting the part that plays before the split. Select the second clip, then reposition it and scale it up so that it fits within one half of the screen.
To remove the leftover parts of the video, open the Effects panel, search for Crop and apply it to the second clip. In Effect Controls, click the word Crop to show the blue handles in the Program Monitor and drag them to trim the clip to its half.

Faster with BetterFX: skip the Effects panel. Press your BetterFX shortcut, type the first letters of Crop and press Enter to apply it to the selected clip. Get BetterFX
If you want to know more about the crop controls, read our guide to cropping video in Premiere Pro.
Step 4: Repeat for the third and fourth clips
Move the playhead to the start of the third clip and cut the second clip there. Reposition and scale the third clip into the bottom left of the screen, then use Crop to trim away anything you do not need. Because you made a cut on video 2, you can reposition and scale it again to your liking for the new layout.
Do the same at the start of the fourth clip: cut the first video, place video 4 in the bottom right and crop away the leftovers. Do not forget to scale up and reposition video 1 so it fits its own panel. When you are done, all four clips sit in their own part of the grid.
Step 5: Make the dividers appear at the right time
Right now, both dividers show from the first frame. Instead, line up the vertical divider with the start of the second clip, and the horizontal divider with the start of the third clip. Then drag each divider layer to start at those points.
The horizontal divider should not run across the whole screen when only three clips are in place, so apply the Crop effect to it and set Right to 50%. It now covers only the left half. To make it appear fully again, move the playhead to the start of the fourth clip, cut the divider layer there and remove the Crop effect from the new part. Play it back to check the finished split screen.
Tips
- Zoom into the Program Monitor. Set the zoom level higher when drawing and aligning the dividers so they land exactly on the center.
- Match the panel proportions. Each panel should be exactly half the width and half the height, so crop carefully and compare with the divider lines.
- Use shorter fades for polish. A quick scale-in on each new clip makes the panels feel more alive.
FAQ
How do I make a split screen in Premiere Pro?
Stack your clips on separate tracks, scale and position each one into its own panel and use the Crop effect to trim the edges. A pair of Pen tool lines acts as the dividers.
Why do I need to cut the first clip?
The cut lets you change the scale and position of the clip only after the split begins. Without it, your change would also affect the part where the clip is full screen.
How can I make a two-way or three-way split instead?
Use fewer clips and fewer dividers. For a two-way split, you only need the vertical divider and two clips cropped to the left and right halves.
Looking for ready-made looks to drop on top of your split screen? Browse the Ultimate Premiere Pro Presets, with 500+ presets for effects, transitions and more.




