

 by
by 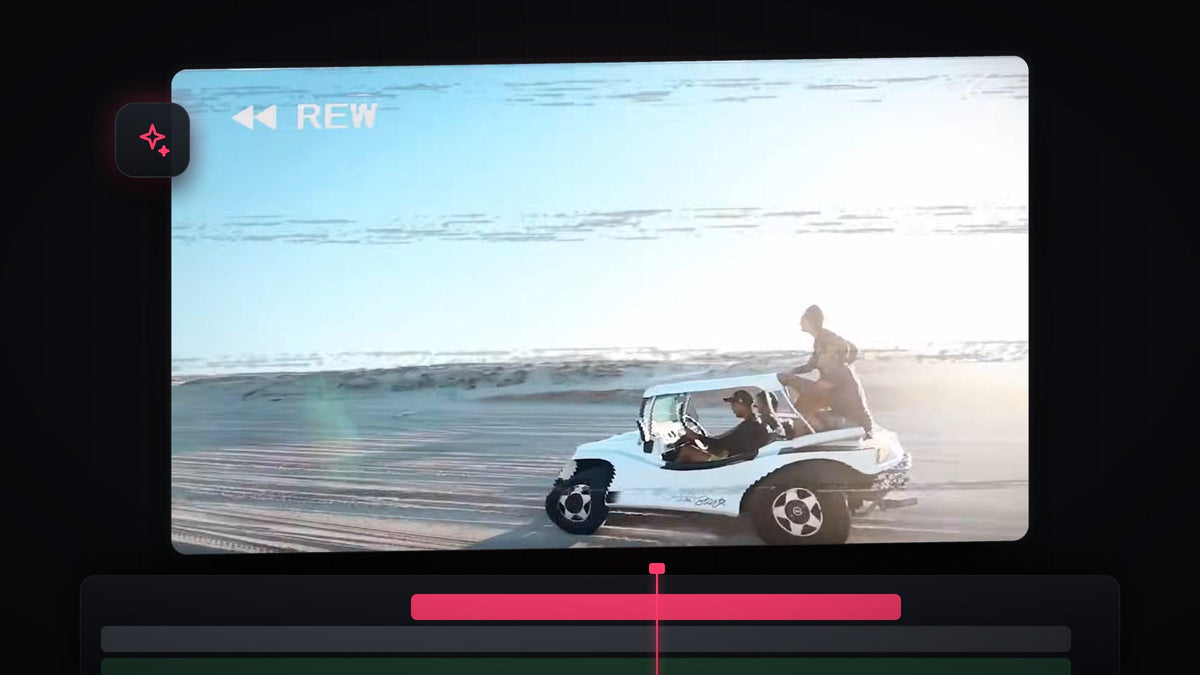
Watch the tutorial
Step 1: Duplicate the clips you want to rewind
If you only want to reverse one clip, hold Alt (Option on a Mac), then drag the clip to the right to make a copy. To reverse a whole section, select all of those clips first, then Alt-drag or Option-drag the group to the right in the same way. The copies are what you will rewind, so the original footage stays untouched in front of them.

Step 2: Nest the duplicates and reverse the speed
Select the duplicated clips, right-click and choose Nest, then click OK. Nesting wraps all of the copies into a single clip, so one setting reverses all of them together and any effect you add later applies to the whole rewind.
With the nested layer selected, press Ctrl + R (Cmd + R on a Mac) to open Clip Speed / Duration. Tick Reverse Speed, then raise the Speed value to your liking. A rewind looks best when it is clearly faster than normal playback. Click OK.

Step 3: Add Wave Warp to the nested layer
Open the Effects panel, search for Wave Warp and drag it onto the nested layer. It lives under Video Effects > Distort. This is the wobble that makes the picture look like unstable tape.
Faster with BetterFX: skip the Effects panel. Press your BetterFX shortcut, type the first letters of Wave Warp and press Enter to apply it to the selected clip. Get BetterFX
Step 4: Dial in the Wave Warp settings
With the nested layer selected, open Effect Controls and set these values:
- Wave Type: Smooth Noise
- Wave Height: around 100
- Wave Width: roughly 900 to 1000. Other values work too, so try a few.
- Direction: 180 degrees
- Pinning: All Edges, which removes the black gaps that appear at the borders of the frame
You can also lower Wave Speed if the wobble is too frantic for your footage.

Step 5: Add a rewind overlay
Import a rewind overlay with the REW label and tape glitches, and drag it onto a track above your nested layer. The overlay in the video has a green screen background, so the next step removes it. Any rewind overlay on a green background works the same way.
Step 6: Remove the green screen with Ultra Key
Search for Ultra Key in the Effects panel and drop it onto the overlay. In Effect Controls, click the Key Color eyedropper, then click on the green in the Program Monitor. The green disappears, and only the REW label and the glitch lines stay on top of your wobbling, reversed footage. That is the finished VHS rewind effect.

Tips
- Keep it short. A rewind of one or two seconds feels like a real tape being wound back. Longer than that and the effect drags.
- Add sound. A tape rewind sound under the effect makes it far more convincing.
- Nest first, effect second. Apply Wave Warp to the nested layer, not the individual clips, so every clip warps in one piece.
FAQ
How do I reverse a clip in Premiere Pro?
Select the clip and press Ctrl + R (Cmd + R on a Mac), then tick Reverse Speed and click OK.
Why should I nest the clips before reversing them?
Nesting turns several clips into one, so you can reverse, speed up and add effects to all of them with a single setting.
How do I get rid of the black edges after using Wave Warp?
Set Pinning in the Wave Warp controls to All Edges. That stretches the edge pixels instead of leaving black gaps.
Want the REW label and tape glitches without building them? Download the free VHS rewind overlay and drop it onto your timeline.




