

 by
by 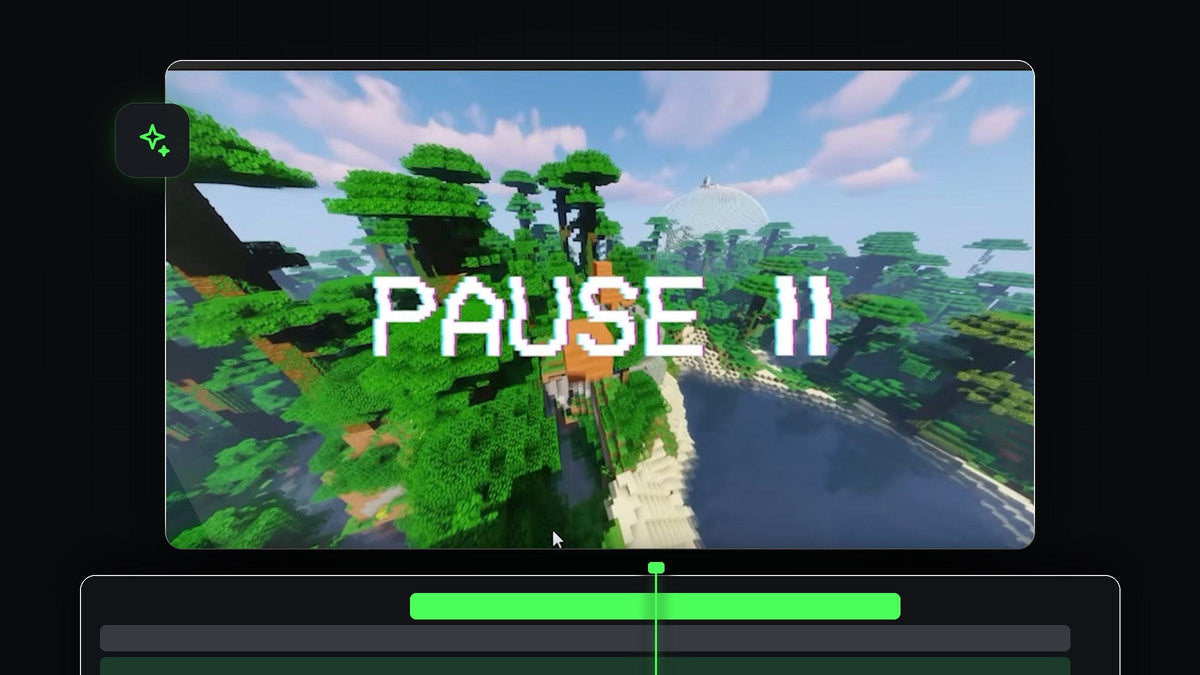
Watch the tutorial
Step 1: Insert a frame hold
Move the playhead to the exact moment where you want the video to pause. Right-click the clip and choose Insert Frame Hold Segment. Premiere Pro cuts the clip at the playhead and adds a still frame of about five seconds, so the picture freezes while the rest of the clip continues after it.

Step 2: Adjust the length of the pause
If five seconds is too long or too short, hover over the edge of the frozen clip until you see the trim icon. Hold Ctrl (Cmd on Mac) until the icon turns yellow, which gives you the ripple trim tool, then drag the edge left or right. The rest of your timeline moves with it, so no gap is left behind.

Step 3: Add the pause overlay
Go to the Project panel and drag the pause overlay onto the track above the frozen frame. Then trim the overlay so its duration matches the freeze. The overlay in the video is a pause icon on a green background.

Faster with BetterFX: skip the Effects panel. Press your BetterFX shortcut, type the first letters of Ultra Key and press Enter to apply it to the selected clip. Get BetterFX
Step 4: Remove the green screen with Ultra Key
Open the Effects panel, search for Ultra Key and apply it to the overlay. In Effect Controls, click the eyedropper next to Key Color and click the green area in the Program monitor. The green disappears, and the pause icon now sits on top of your frozen footage.

Step 5: Dim the frozen video
To make the pause look even better, select the frozen video clip and open the Lumetri Color panel. Under Basic Correction, decrease the exposure or saturation slightly so the picture looks a little dimmer and flatter. This is how video players often show a paused frame, and it helps the pause icon stand out.

Step 6: Try a different overlay
You can swap in any overlay you like. For an overlay that includes a mouse cursor clicking, add a marker on the overlay clip (press M) at the moment of the click, and line it up with the frame where the video should pause. For a still image overlay, you do not need a key at all. Just set its Blend Mode to Screen in Effect Controls to hide the black background.
Tips
- Add a click sound. A short click or tape-stop sound on the freeze makes the effect feel real.
- Keep the pause short. One or two seconds is usually enough before the video continues.
- Mix it with other effects. A freeze frame transition works well before the pause.
FAQ
How do I freeze a frame in Premiere Pro?
Right-click your clip at the frame you want and choose Insert Frame Hold Segment.
How do I remove a green background in Premiere Pro?
Apply Ultra Key to the clip and use the eyedropper next to Key Color to click on the green.
Can I make the pause longer or shorter later?
Yes. Hold Ctrl (Cmd on Mac) and drag the edge of the frozen clip to ripple trim it.
Looking for ready-made overlays? Try the free pause overlay.




