by
by 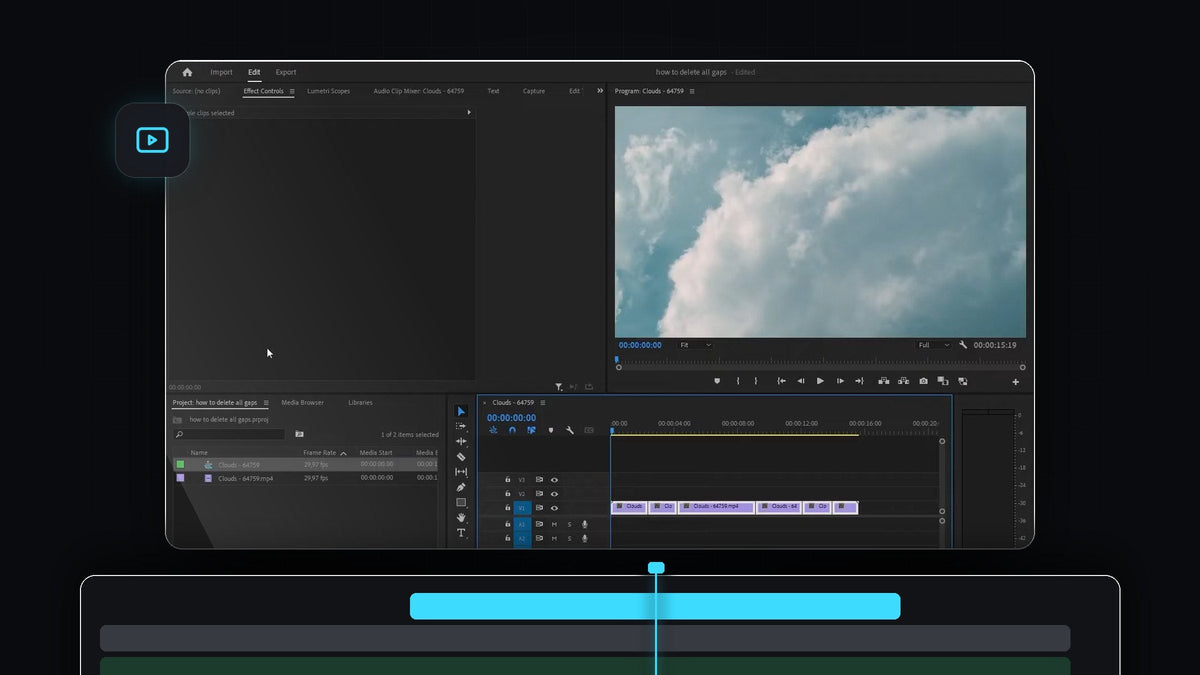
Watch the tutorial
Step 1: Look at the gaps on your timeline
Start with a sequence that has empty space between its clips. This happens all the time after you delete sections, remove silences or trim clips without using ripple delete. Each empty stretch shows up as a hole on the track and plays back as black.

Step 2: Select every clip
Click into the timeline so it is the active panel, then press Ctrl + A (Cmd + A on Mac) to select all clips in the sequence. Every clip is highlighted, including the ones on other tracks. You can also drag a selection box around only the clips you want to tighten up.

Step 3: Choose Sequence > Close Gap
With the clips still selected, open the Sequence menu at the top of the screen and pick Close Gap. You will find it near the bottom of the menu, right above Go to Gap. Premiere Pro closes the empty space between the selected clips in one go.

Step 4: Check the result
Your clips now sit back to back, and the sequence is shorter because the empty space is gone. Press the spacebar and play through the cuts to make sure everything flows the way you want.

Tips
- Add a shortcut. Close Gap does not have a key by default, but you can assign one in Premiere Pro's keyboard shortcuts settings. Search for Close Gap and give it a key you like.
- Mind your sync. If you have music or voiceover on other tracks, check them afterwards, because closing gaps can shift clips against audio that is not part of your selection.
- Use ripple delete next time. Selecting a clip and pressing Shift + Delete removes it and closes the gap in one step, which stops gaps from piling up.
FAQ
How do I remove gaps in Premiere Pro?
Select your clips, then go to Sequence > Close Gap. You can also right-click a single gap and choose Ripple Delete.
Why does my timeline have gaps in the first place?
Gaps appear when you delete clips with the normal Delete key instead of ripple delete, or when you trim clips without rippling the edit. The empty space stays where the clip used to be.
Does Close Gap change my clips?
No. It only moves clips along the timeline to fill the empty space. Their length, effects and speed stay the same.
Want to speed up the rest of your editing workflow too? Grab the free Mako panel for Premiere Pro.