

 by
by 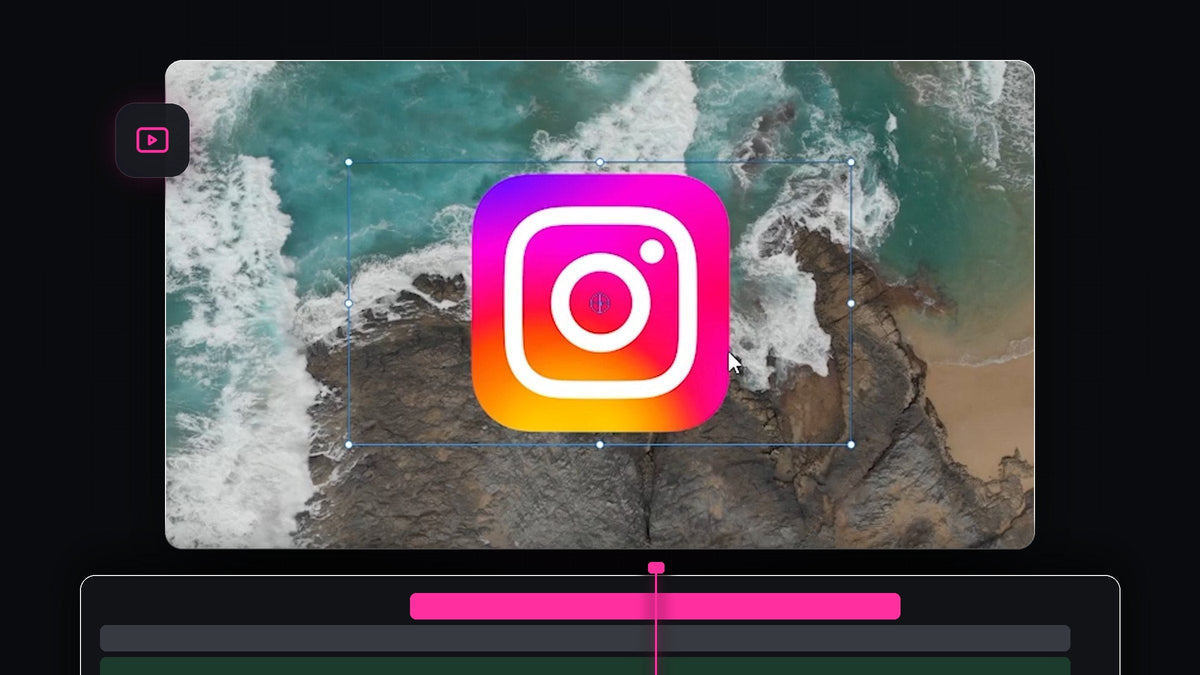
Watch the tutorial
Step 1: Import your image
Start with your video clip on the timeline. Then bring the image into the Project panel, either by double-clicking an empty area and picking the file, or by dragging it in from your computer. A PNG with a transparent background works best for logos, since only the logo shows over the footage and not a box around it.
Step 2: Drag the image above your clip
Drag the image from the Project panel up to the timeline and drop it on V2, the video track directly above your footage. Premiere always shows the higher track on top, so the image will appear over the video. Line the start of the image with the playhead at the moment you want it to appear.

Faster with QuickPaste: copy the image and paste it straight into your timeline with one shortcut, without saving and importing a file first. See QuickPaste
Step 3: Zoom out in the Program monitor
At first the image will probably fill the whole screen, because a high resolution picture is much bigger than your video frame. To work on it comfortably, click the Select Zoom Level dropdown at the bottom of the Program monitor (it says Fit by default) and choose a smaller value such as 25% or 50%. The canvas shrinks and leaves room around it, so you can reach the corner handles of the image.

Step 4: Scale and position the image
Click the image in the Program monitor and a box with handles appears around it. Drag a corner handle toward the center to scale it down. Hold Shift while you drag to keep the proportions locked, so the logo does not get stretched. Then click inside the image and drag it to the spot you like, such as a lower corner.

You can fine-tune the same values in Effect Controls under Motion. Use Position to move it and Scale to resize it numerically.

Step 5: Set how long the image stays on screen
The length of the image clip on the timeline is the time it is visible. To change it, hover over the end of the image clip until the cursor turns into the trim icon, then drag it left or right. A tooltip shows the new duration while you drag. You can also move the whole clip to change when the image appears.

Press the spacebar to play it back. The image should appear at the right moment, sit in position over your footage and disappear when the clip ends.
Tips
- Use PNG files. They keep their transparent background, so logos sit cleanly on the video.
- Keep it subtle. A small, steady logo in a corner is less distracting than a big one.
- Add a fade. Dragging a Cross Dissolve onto the start and end of the image clip makes it ease in and out.
FAQ
How do I put an image on top of a video in Premiere Pro?
Drag the image onto a video track above your footage, such as V2. The higher track always shows on top.
Why is my image so big?
Large pictures are bigger than the video frame. Zoom out in the Program monitor and drag a corner handle to scale it down, or lower Scale in Effect Controls.
How do I make the image stay on screen longer?
Drag the end of the image clip on the timeline to the right. Its length equals the time it is visible.
Add images even faster with QuickPaste and paste logos, screenshots and memes straight into Premiere Pro.


