by
by 
Watch the tutorial
Step 1: Pick a mask tool from the toolbar
Select your clip on the timeline. In the toolbar, press and hold the mask tool to open the list of mask options: Object Mask Tool, Ellipse Mask Tool, Rectangle Mask Tool and the Pen Tool. The Object Mask Tool finds and masks objects automatically, while the other three let you draw the shape yourself. For manual tracking, pick the shape that best fits your subject. An ellipse suits a person's head or a ball, while the Pen Tool suits irregular shapes.

Step 2: Draw the mask around your subject
Go to the first frame where the subject appears. Click and drag in the Program Monitor to draw the mask around the person or object you want to follow. The mask now shows up in the Effect Controls panel, where you can adjust Feather, Opacity and Expansion, and tick Inverted to flip which area the mask covers.

Step 3: Set the Mask Path keyframes frame by frame
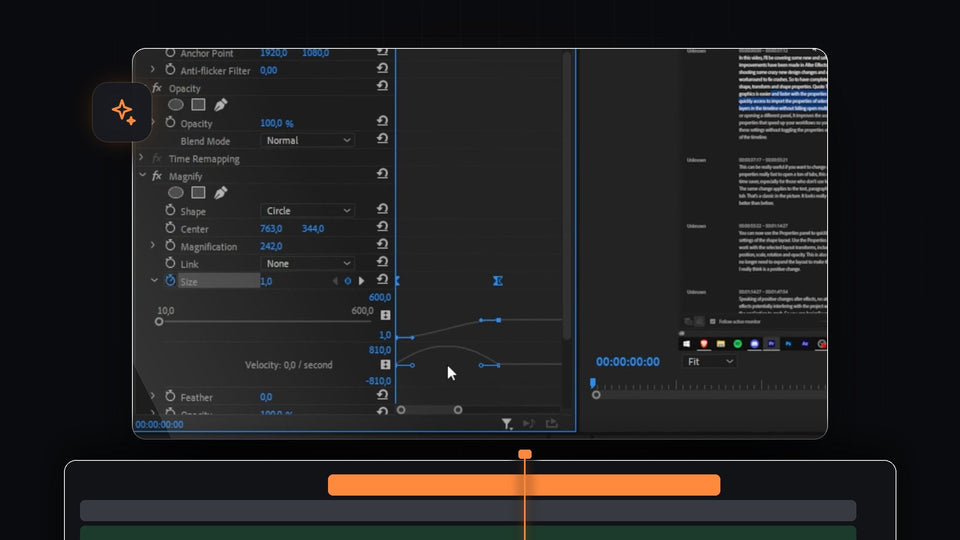
This is the manual tracking step. In the mask settings, click the stopwatch next to Path to start keyframing. Then move forward a few frames at a time, and after each step drag the mask in the Program Monitor so it sits on the subject again. Every time you move it, Premiere Pro adds a new keyframe. You will see a row of keyframe dots appear on the Effect Controls timeline.
For fast movement, step forward just one or two frames at a time. For slow movement, you can take bigger steps and let Premiere Pro fill in the gaps. Use the arrow keys to step through frames, and press the spacebar now and then to play back and check that the mask stays in place.
Step 4: Apply an effect through the mask
Now use your tracked mask. In the Effects panel, search for an effect such as Brightness & Contrast (Video Effects > Color Correction) and add it to the clip. In the effect's settings in Effect Controls, choose your mask from the mask list under the effect. The effect is then limited to the shape you tracked. Change the effect values and tick Inverted to apply it to everything except the subject, or leave it off to affect only the subject.

Faster with BetterFX: skip the Effects panel. Press your BetterFX shortcut, type the first letters of Brightness & Contrast and press Enter to apply it to the selected clip. Get BetterFX
Step 5: Play it back and fix drifting spots
Play the clip from the start and watch the mask. Wherever it slips off the subject, stop, step to that frame and drag the mask back into place. This adds a corrective keyframe without redoing the rest. Repeat until the effect stays locked on from start to end.

Tips
- Use a little feather. A soft edge hides small tracking errors between keyframes much better than a hard edge.
- Track only what you must. Add keyframes only where the subject changes direction or speed. Fewer keyframes mean smoother movement.
- Try auto first. The Object Mask Tool and the Tracker buttons in the mask settings can do most of the work, and manual keyframes can then fix the spots where they fail.
FAQ
How do I track a mask manually in Premiere Pro?
Draw a mask, click the Path stopwatch, then move forward a few frames at a time and reposition the mask on your subject after each step.
Why track a mask manually instead of using the tracker?
The automatic tracker can lose your subject when it moves fast, turns or is hidden behind something. Manual keyframes give you full control in those shots.
How many keyframes do I need?
It depends on how fast the subject moves. Slow movement needs few keyframes, while quick or erratic movement may need one every frame or two.
Once your mask is tracked, color and effect presets make the result look great fast. Explore 500+ Premiere Pro presets