

 by
by 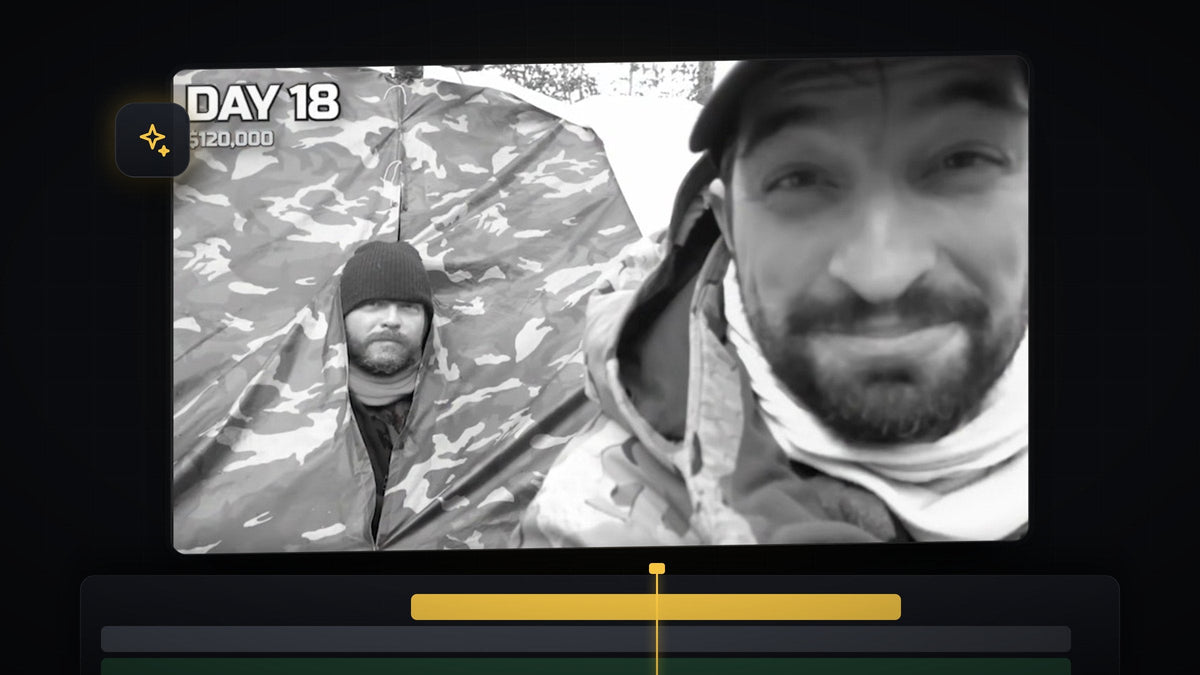
Watch the tutorial
Step 1: Slow down the flashback clip
Start with your flashback clip cut into the timeline between two normal clips. To make room for the slowdown, select the clips after the flashback and move them forward a bit, so nothing overlaps once the clip gets longer.
Right-click the flashback clip and choose Speed/Duration. Set the Speed somewhere around 30 to 50%. The video uses 40%. To make the slow motion smoother, open the Time Interpolation drop-down and pick Optical Flow, then click OK.

Now snap the clips back together so there is no gap. A red line appears above the timeline over the slowed clip, which means it is heavy for your computer to play back. Press Enter to render it and Premiere will prepare the heavy parts so playback stays smooth.
Step 2: Add an adjustment layer above the clip
All the look adjustments go on one adjustment layer, so you can tweak them without touching the footage. In the Project panel, click the New Item button, choose Adjustment Layer and click OK.
Drag the adjustment layer onto a track above the flashback clip and trim its ends so it matches the clip's length exactly.
One click with Mako: the free Mako panel adds an adjustment layer over the selected clips, at the playhead, on the first free track, in one click. Get Mako for free
Step 3: Make it black and white with a vignette
Select the adjustment layer and open the Lumetri Color panel. If you do not see it, go to Window > Lumetri Color. Expand Basic Correction, then Color, and drag Saturation all the way to the left to 0. The picture turns black and white.

The original MrBeast video also darkens the corners. Scroll down to Vignette in the same panel and set Amount to a negative number, such as -1.3. This pushes the eye towards the center and adds to the old-footage mood.
Step 4: Add a light film flicker
The original also has a slight flicker on the footage. Open the Effects panel, search for Strobe Light and apply it to the adjustment layer.
Faster with BetterFX: skip the Effects panel. Press your BetterFX shortcut, type the first letters of Strobe Light and press Enter to apply it to the selected clip. Get BetterFX
With the adjustment layer selected, go to Effect Controls and find Strobe Light. Set Blend With Original to 97% or higher. This value controls the intensity of the effect: the higher it is, the less intense the flicker. The video then uses Strobe Duration of 0.12, Strobe Period of 0.20, Random Strobe Probability of 8% and a Random Seed of 8. Copy those values, then play around with them until the flicker feels right for your footage.

Step 5: Build the flash transition at the cut
Now recreate the bright flash used before and after the flashback moment. Drag a new adjustment layer above the other layers so it overlaps the cut a bit before and a bit after it, and park the playhead right on the cut.
Search for ProcAmp in the Effects panel and apply it to this adjustment layer. In Effect Controls, click the stopwatch next to Brightness to create a keyframe, then raise the value to around 30 to 40. The video uses about 33. This is the brightest point of the transition, so it sits exactly on the cut.

Next, go back 10 frames: hold Shift and press the Left Arrow key twice, then reset Brightness to its default. Move back to the first keyframe, hold Shift and press the Right Arrow key twice to go 10 frames forward, and reset the value again. You now have a quick ramp up to white and back down.
For a smoother ramp, you can ease those keyframes too. Our guide to object flash transitions in Premiere Pro shows a similar flash technique.
Step 6: Duplicate the flash at the end of the flashback
You only need to copy the transition to the end of the flashback. Put the playhead on the cut, select the adjustment layer and press M to add a marker to it. If you use the same adjustment layer as in the video, that adds a marker to the clip as well.
Now hold Alt (Option on Mac) and drag the layer to copy it. Line up the marker on the copy with the second cut, and the flash plays at both ends of the flashback.
Tips
- Keep everything on adjustment layers. The look stays editable and you can reuse it on any other flashback clip.
- Shorter is stronger. A flashback of just a few seconds feels punchier than a long one.
- Change the flicker to taste. Raise Blend With Original for a calmer look or lower it for a rougher one.
FAQ
How slow should the flashback clip be?
Somewhere around 30 to 50% works well. The tutorial uses 40%, and Optical Flow keeps the slow motion smooth.
Why is there a red line above my slowed clip?
Red means that part of the timeline is hard for your computer to play in real time. Press Enter to render it and playback will run smoothly.
Can I use this look on any footage?
Yes. The adjustment layers work on any video clip, so you can drop the same setup over old footage, memories or any scene you want to feel like the past.
Want to add film texture to your flashback as well? Try the free grain overlay.




