by
by 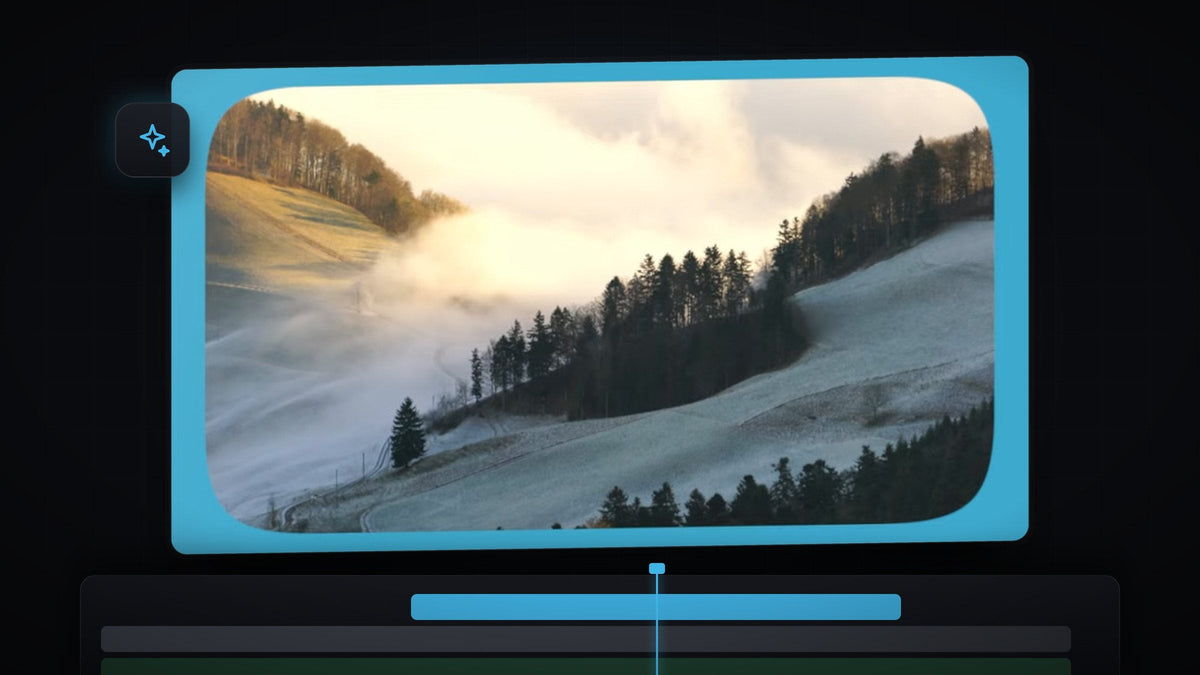
Watch the tutorial
Step 1: Put your clip on track V2
Start by making sure your video clip sits on V2, the second video track. Your background will go underneath it on V1, so keep the lower track empty for now.
Step 2: Create a color matte
Go to the Project panel, click the New Item button and choose Color Matte. Click OK in the New Color Matte window, pick a background color in the Color Picker and click OK, then click OK again when Premiere asks you to name the matte. The color you choose becomes the frame that shows around the rounded video.
One click with Mako: the free Mako panel adds a color matte over the selected clips, at the playhead, on the first free track, in one click. Get Mako for free
Step 3: Place the matte below the clip
Drag the color matte from the Project panel onto V1, directly below your video. Then drag the end of the matte so it matches the length of the video clip, otherwise the background disappears before the clip ends.

Step 4: Apply Roughen Edges and scale down the clip
Open the Effects panel (Window > Effects) and search for Roughen Edges. You will find it under Video Effects > Stylize. Drag it onto your video clip in the timeline.

Faster with BetterFX: skip the Effects panel. Press your BetterFX shortcut, type the first letters of Roughen Edges and press Enter to apply it to the selected clip. Get BetterFX
With the clip selected, open Effect Controls and reduce the Scale of the video a little. This leaves a gap around the clip so the colored background shows on every side. Roughen Edges works from the edge of the layer, so it needs that spare room to look right.
Step 5: Change the Roughen Edges settings
Scroll down to Roughen Edges in Effect Controls and change these settings:
- Edge Type: change it from Roughen to Cut.
- Edge Sharpness: set it to 10.
- Fractal Influence: set it to 0.
Cut gives you clean, curved cuts instead of a torn paper look. Zero Fractal Influence removes the randomness, so the corners come out smooth and even.

Step 6: Set the Border value
Now the fun part. The Border value controls how round the corners are. The default is small, so raise it until you like the shape. The video goes up to a big number (500) for very round corners, and a lower number gives softer, subtler corners. Drag the value left and right while you watch the Program Monitor.

Tips
- Reuse it on other clips. Right-click the clip, choose Copy, then select another clip and use Paste Attributes to apply the same rounded corners.
- Pick a color that fits your video. A color matte that matches the footage feels intentional. Go darker for a cinematic look, or lighter for a clean design.
- Scale the clip evenly. Keep Uniform Scale on so the picture does not stretch.
FAQ
How do you round the corners of a video in Premiere Pro?
Apply the Roughen Edges effect, set Edge Type to Cut, lower Fractal Influence to 0 and increase the Border value until the corners look right.
Why do I need to scale the clip down first?
Roughen Edges works from the outer edge of the clip. Scaling down leaves room around the video so the rounded edge is visible against the background.
How do I make the corners rounder or sharper?
Change the Border value in the Roughen Edges effect. A larger value gives more rounded corners, and a smaller one keeps them tighter.
Looking for more ways to polish your edits? Browse our free Premiere Pro presets.