

 by
by 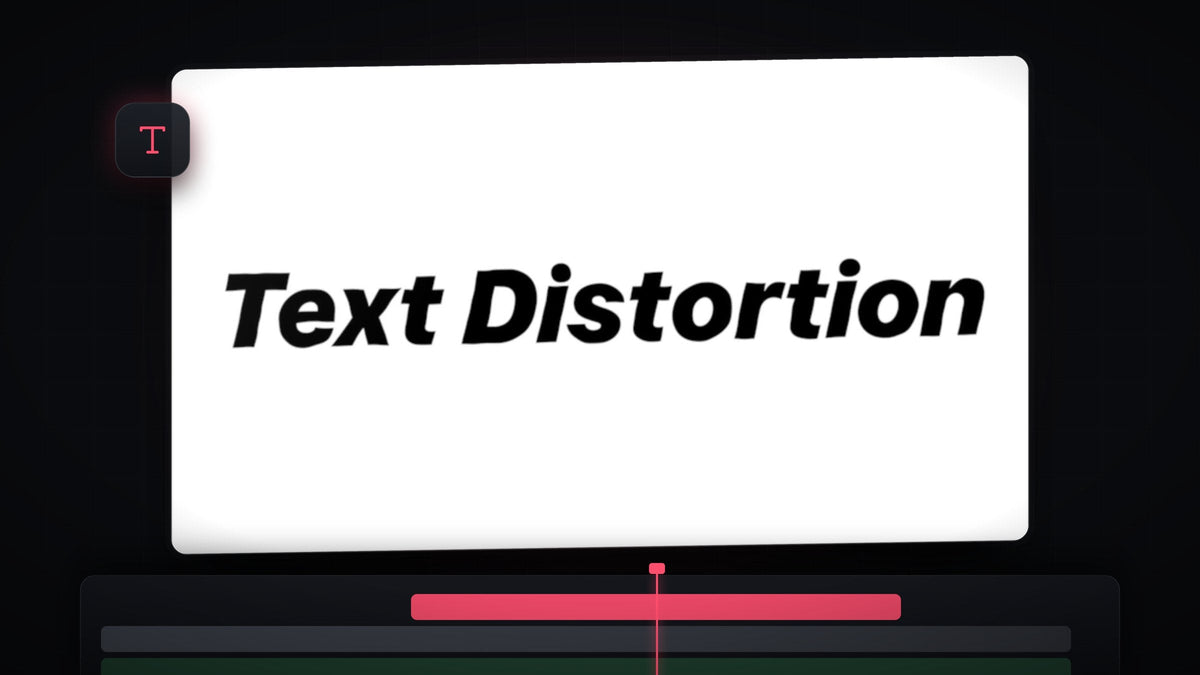
Watch the tutorial
Step 1: Find Turbulent Displace
Add your text to the timeline. The video uses a bold, slanted font in black on a white background, which makes the wobble easy to see. Then open the Effects panel (Window > Effects) and search for Turbulent Displace. You will find it under Video Effects > Distort.

Step 2: Apply it to your text
Drag Turbulent Displace onto the text layer in the timeline, or select the layer and double-click the effect. With the layer still selected, open the Effect Controls panel and scroll to Turbulent Displace. At first the text is warped quite heavily, because the default values are strong.
Faster with BetterFX: skip the Effects panel. Press your BetterFX shortcut, type the first letters of Turbulent Displace and press Enter to apply it to the selected clip. Get BetterFX
Step 3: Tone down Amount and Size
Set Amount to 14 and Size to 14 as well. A low amount keeps the letters readable, and a small size gives you many tiny ripples along the edges instead of a few big bends. This is what creates the fine, shaky outline of the wiggle look.

Step 4: Keyframe Random Seed
Move the playhead to the very start of the clip. In Effect Controls, expand Evolution Options and click the stopwatch next to Random Seed. This creates the first keyframe and tells Premiere that the seed will change over time.
Now jump to the end of the clip and raise the Random Seed value a little. Premiere creates a second keyframe automatically. As the seed counts up, the distortion pattern changes on every frame, and that constant change is what makes the text wiggle.

Step 5: Control the speed and the look
The size of the end value sets the speed. A higher number means the seed changes more quickly across the clip, so the wiggle looks faster and busier. A lower number slows it down. The video ends at a value of 18 as an example, but you should play it back and adjust it until the movement feels right for your project.
You can also go back to Amount and Size and try different numbers for a different personality. More amount makes the text look melted, and a larger size makes the shapes bend in slow, wide waves.
Tips
- Keep it readable. If the letters start to fall apart, lower Amount first.
- Use it on shorter clips. The longer the clip, the faster the seed has to count for the same wiggle speed, so adjust the end value when you change the clip length.
- Combine it with a glow. A shaky outline works nicely on a neon title. See how to make a glowing text effect in Premiere Pro.
FAQ
How do I make text wiggle in Premiere Pro?
Apply Turbulent Displace to your text, set a low Amount and Size, then keyframe Random Seed from the start to the end of the clip with a higher value at the end.
Why does my text look too distorted?
The Amount value is too high. Lower it until the text is easy to read, and reduce Size for finer ripples.
How do I make the wiggle faster or slower?
Change the Random Seed value on the last keyframe. A higher value gives a faster wiggle and a lower value gives a slower one.
Want wiggling text without building it yourself? Try the Text Wiggle Presets and drop them straight onto your titles.


