

 by
by 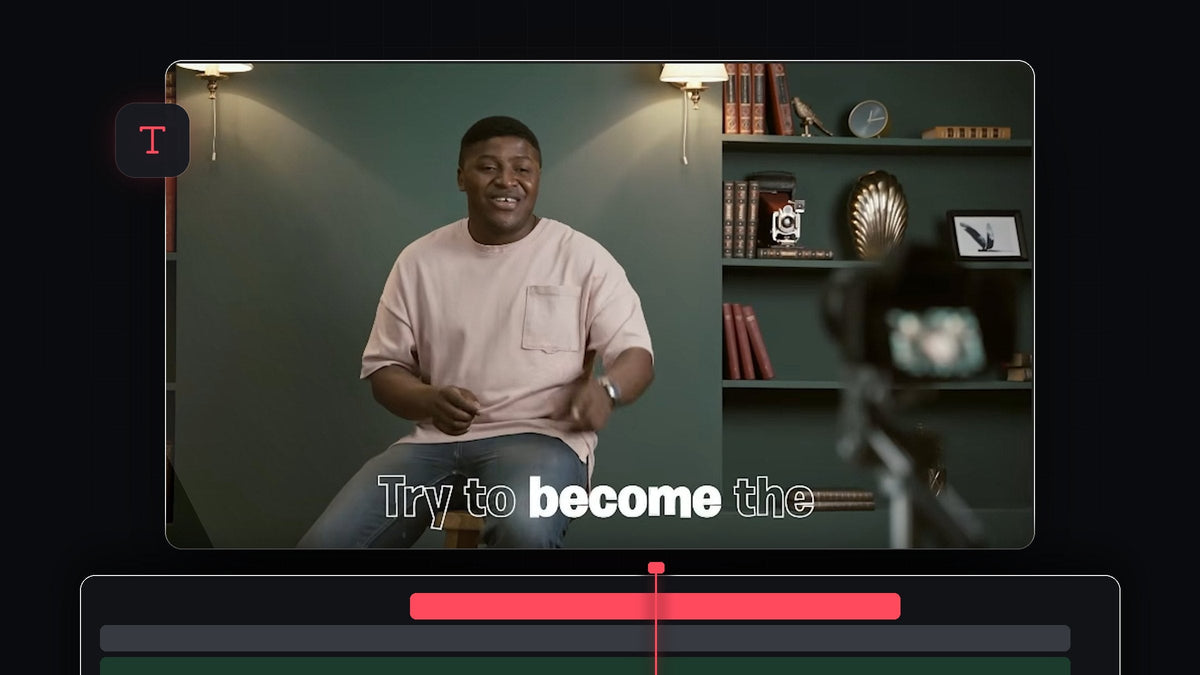
Watch the tutorial
Step 1: Set up your text layers
Start with your text above your video, for example captions that are already timed to the speech. Make sure the text has only the Fill option turned on. Then select all the text layers and duplicate them by holding Alt (Option on Mac) while dragging them up one track. You now have two identical sets: the bottom one will become the filled version, the top one the outline.
Step 2: Open Essential Graphics
Select the top text layer and open the Essential Graphics panel, then switch to the Edit tab. If you cannot find the panel, go to Window > Essential Graphics and make sure it is ticked.

Step 3: Turn the top layer into an outline
Under Appearance, turn off Fill and turn on Stroke. The stroke may make your text look very thick, so decrease the stroke width a bit. Then set the stroke type to Inner or Center so the outline does not grow outside the letters. This outline layer stays on top the whole time and gives the unfilled words their look.

Step 4: Lock the top layer and select the bottom text
Lock the top text track by clicking its lock icon. Now double-click the text in the Program Monitor and it automatically selects the original text layer below it. Open Effect Controls to work on this layer.

Step 5: Keyframe Source Text
In Effect Controls and with the text selected, disable the Fill option, then click the stopwatch next to Source Text to create the first keyframe while the fill is off. Source Text keyframes store the look of your text at that moment, so you can change which words are filled over time.

Step 6: Fill each word as it is said
Move the playhead to the point where the first word is spoken. Select that word in the Program Monitor and turn on the Fill option. Premiere Pro adds a new keyframe. Move forward to the next word, click the keyframe button to add a keyframe, then select the word and enable Fill. Keep going from word to word.
If you want only one word filled at a time, select the previous word at each step and disable its fill again, so only the current word is colored. Repeat the process on every text layer. You can also drag the keyframes later to adjust the timing of each fill.

Smoother with EaseFlow: if you also animate the position or scale of the captions, select those keyframes and apply a real easing curve in one click instead of dragging Bezier handles. See EaseFlow
Step 7: Try the continuous fill version
For a continuous fill, where the words stay filled once they are spoken, the process is almost the same. Select all the text and disable Fill, then create a Source Text keyframe. Move to the first word, select it and enable Fill. Instead of creating a new keyframe each time, simply move on to the next word, highlight it and enable Fill on that one too. You move from one word to another, and each one stays filled.
Tips
- Work with locked tracks. Locking the outline layer stops you from selecting it by accident.
- Zoom in for precision. Zoom into the timeline so you can place each keyframe on the exact frame the word starts.
- Use bold fonts. A chunky font makes the fill much easier to see.
FAQ
Why do I need two copies of the text?
The top copy shows the outline of every word, and the bottom copy shows the fill on the current word, so the unfilled words still look finished.
Why can't I select the bottom text layer?
Lock the top text track first. Then double-clicking the text in the Program Monitor selects the layer below.
Can I use this for captions?
Yes. It works well on captions and lyric lines. For another popular style, see how to make a typewriter text effect.
Want finished text animations without building them by hand? Explore the Ultimate Text Preset Pack.


