

 by
by 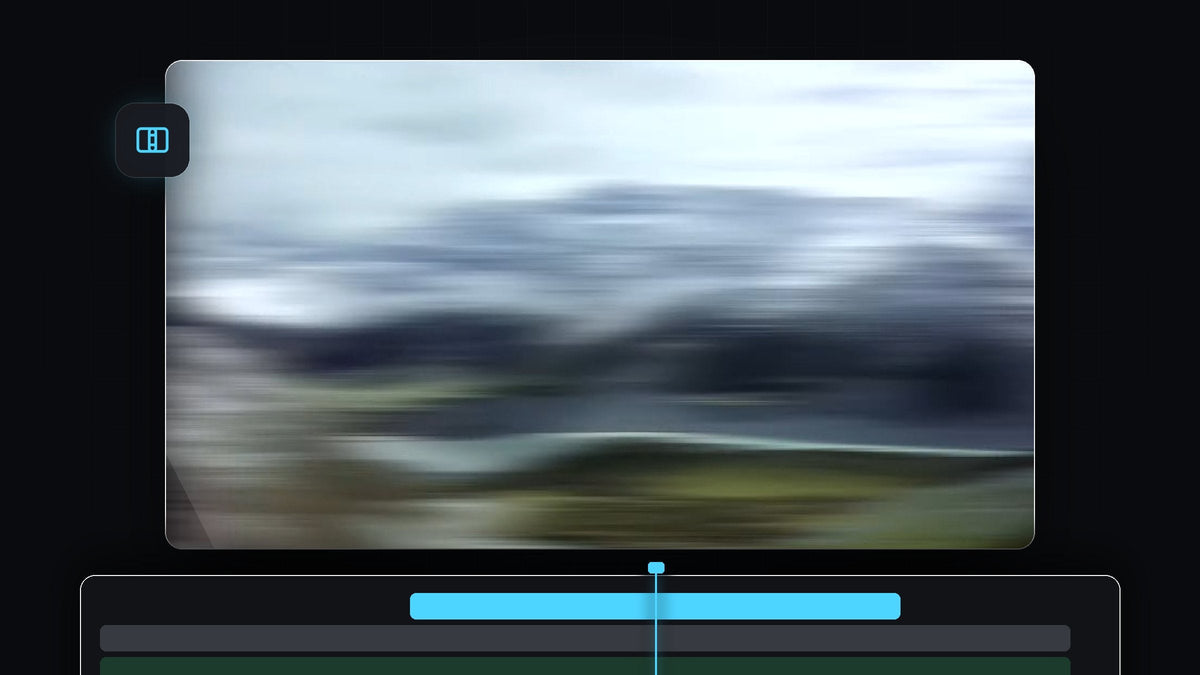
Watch the tutorial
Step 1: Add the Push transition between your clips
Place the two clips you want to join next to each other on the timeline. Open the Effects panel (Window > Effects) and search for Push. You will find it under Video Transitions > Slide. Drag Push onto the cut between the two clips.

Step 2: Center the transition and shorten it
Click the transition on the timeline and open Effect Controls. Change Alignment to Center at Cut, so the transition is split evenly across both clips instead of sitting only on one side. Then change the Duration to 10 frames. A whip pan should be fast, and a short duration gives it that snap.

Step 3: Create an adjustment layer
Go to the Project panel, click the New Item button and choose Adjustment Layer. Confirm with OK, then drag the adjustment layer onto the track above your clips. The blur you add in a moment will sit on this layer, so it affects everything underneath it.
One click with Mako: the free Mako panel adds an adjustment layer over the selected clips, at the playhead, on the first free track, in one click. Get Mako for free
Step 4: Match the adjustment layer to the transition
Right-click the adjustment layer and choose Speed/Duration. Set the duration to 10 frames, the same as the transition, and click OK. Then drag the adjustment layer in the timeline until it lines up exactly with the Push transition. Zoom in on the timeline if you need to be precise. When the two match, the blur will appear only during the sweep.

Step 5: Add Directional Blur and set it up
Search for Directional Blur in the Effects panel (it is in Video Effects > Blur & Sharpen) and drag it onto the adjustment layer. Make sure the adjustment layer is selected, then open Effect Controls. Set Direction to 90 degrees, and raise Blur Length to 110. This streaks the picture sideways, which sells the feeling of a fast camera movement.

Faster with BetterFX: skip the Effects panel. Press your BetterFX shortcut, type the first letters of Directional Blur and press Enter to apply it to the selected clip. Get BetterFX
Press the spacebar to play the cut. The first clip should whip away in a blur and the second should slide in.
Make it look even better
The video ends by showing that you can build other transitions the same way, including a light transition and an out transition. The idea stays the same: a transition between the clips, plus an adjustment layer with a blur on top. If your sweep goes in a different direction, adjust the blur Direction to match it, then play it back again.
Tips
- Add a whoosh. A short swoosh sound placed at the transition makes the cut feel much more physical.
- Keep it quick. If the effect feels slow, reduce the duration of both the transition and the adjustment layer by the same amount.
- Save the setup. Copy the adjustment layer and the transition to other cuts in your project instead of rebuilding them.
- Another cut style. See how to make an object flash transition in Premiere Pro.
FAQ
How do I make a whip pan transition in Premiere Pro?
Add the Push transition between two clips, shorten it to 10 frames, and put a Directional Blur on an adjustment layer that lines up with the transition.
Why does my whip pan not look blurry?
The adjustment layer is probably not lined up with the transition, or the Blur Length is too low. Align both and raise the blur value.
Can I use a different transition?
Yes. Any slide-style transition works, as long as the blur direction matches the direction of the movement.
Want more fast, clean cuts? Download the free glitch transitions with sound and try them in your next edit.


