by
by 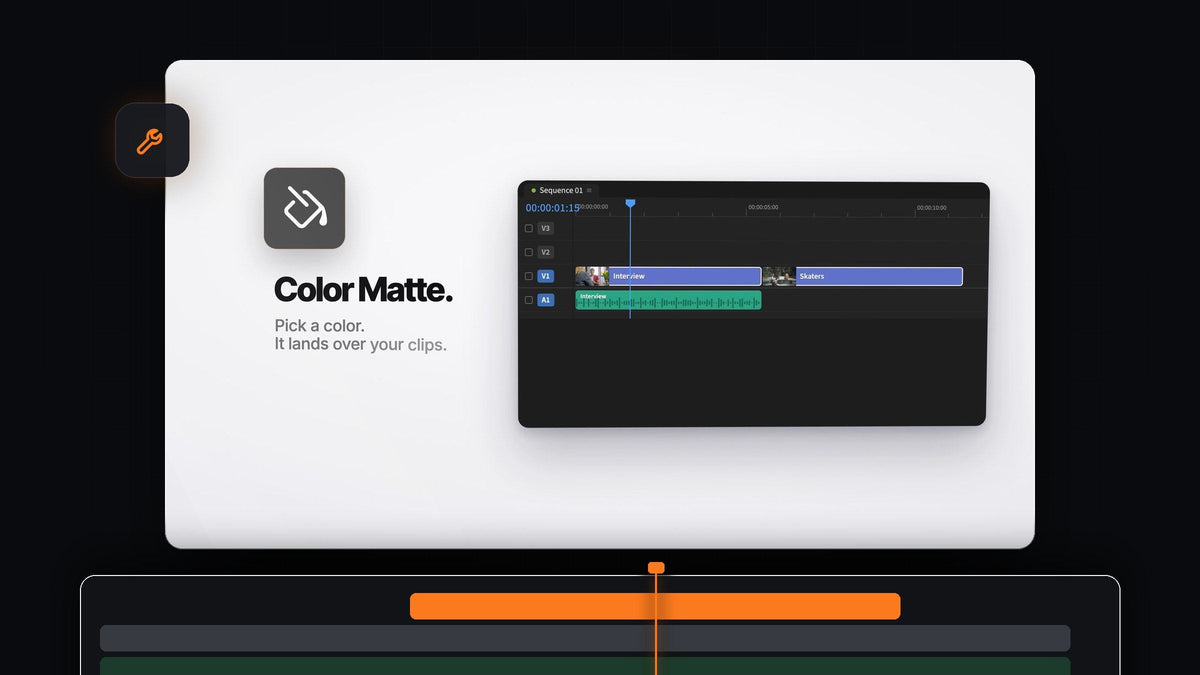
The short answer
Looking for an Ayu QuickLayer Pro alternative for Premiere Pro? Mako drops color mattes, adjustment layers and freeze frames right where your edit needs them, in one click. It is free, on Mac and Windows.
It reads your selection and your playhead, cuts every layer to fit and puts it on the first free track above. You pick the clips, Mako does the rest.
Three layers every fast edit needs
Creator edits, reels and promos lean on the same three building blocks again and again. Mako gives each one a button, plus extra clicks for the variations you use most.
- Color Matte. Pick any color and the matte lands over your selected clips. Perfect for title cards, color washes and solid backgrounds behind text.
- Adjustment Layer. Click for one over the selection, Shift-click for one per clip, Cmd-click (Ctrl-click on Windows) for a short 0.4-second layer on every cut.
- Freeze Frame. A still of the playhead's frame on the track above, held for the whole clip. Shift-click for a 3-second still from the playhead.
All three follow the same rules: over your selection, on the first free, unlocked track, and never over a clip. With nothing selected, layers cover five seconds from the playhead.
Step 1: Install Mako
Check out for $0, no card needed, and download Mako from the order confirmation page. On a Mac, open Mako.pkg. On Windows, run MakoSetup.exe from the zip.
Restart Premiere Pro, open Window > Extensions > Mako and dock the panel next to your timeline. Mako supports Premiere Pro 2021 and later and keeps itself up to date.
Step 2: Drop a color matte in your color
Select the clips you want to cover and click Color Matte. A color picker opens. Choose your brand color, then press OK.

The matte lands over your selection, trimmed to fit. Put a title on top for an opening card, or lower its opacity and change the blend mode for a color wash. Our guide to a solid background in Premiere Pro has more ideas.
Step 3: A flash on every cut
Select the clips in your sequence and Cmd-click (Ctrl-click on Windows) Adjustment Layer. Mako places a short 0.4-second layer on every cut, all on one track.

Add a brightness flash, a blur or a quick zoom to the first one, copy it to the rest, and every cut gets the same punch. It is the ideal base for a color flash effect in Premiere Pro.
Want a different look on each shot instead? Shift-click the same button and every selected clip gets an adjustment layer of its own.
Step 4: Freeze the moment
Park the playhead on the frame you want and click Freeze Frame. A still of that frame lands on the track above the clip, held for the whole clip, so the original stays untouched underneath.

Shift-click for a 3-second still from the playhead instead, ready for a name tag or a record-scratch moment. Freeze frames and adjustment layers are filed in a Mako bin, so the Project panel stays neat.
Step 5: Put your layers on keys
Right-click any button and choose Keyboard Shortcut. Each click mode gets a key of its own too, so the matte, the per-clip layer, the every-cut layer and the 3-second freeze can each sit on one keypress.
Color the buttons in Settings, tinted or solid, so the layer tools stand out at a glance. For checking cutouts and graphics over your mattes, the Transparency Grid button turns on the checkerboard in the Program Monitor in one click.
Why Mako is the easy pick
Mako works the way Premiere already works, with no dialogs, no presets to manage and no license to activate. It is free for good, with no account and no trial, and it updates itself quietly in the background.
It also brings Nest, Unnest, Staircase, Fit to Frame, Clear Effects, QC Check and more to the same panel. Our full Mako guide covers every button, or download Mako and try it now.
FAQ
What is the best Ayu QuickLayer Pro alternative for Premiere Pro?
Mako. It adds color mattes, adjustment layers and freeze frames over your selection in one click, on the first free track, and it is free on Mac and Windows.
How do I add a color matte over selected clips in Premiere Pro?
Select the clips, click Color Matte in Mako, pick a color and press OK. The matte lands over your selection, trimmed to fit.
Can I add an adjustment layer to every cut at once?
Yes. Cmd-click (Ctrl-click on Windows) the Adjustment Layer button and Mako puts a short 0.4-second layer on every cut, all on one track.
Will Mako overwrite clips on the track above?
Never. Mako uses the first free, unlocked track above your clips and adds a new track when there is none.
Your mattes, layers and freezes, one click each, for free. Get Mako for Premiere Pro.