by
by 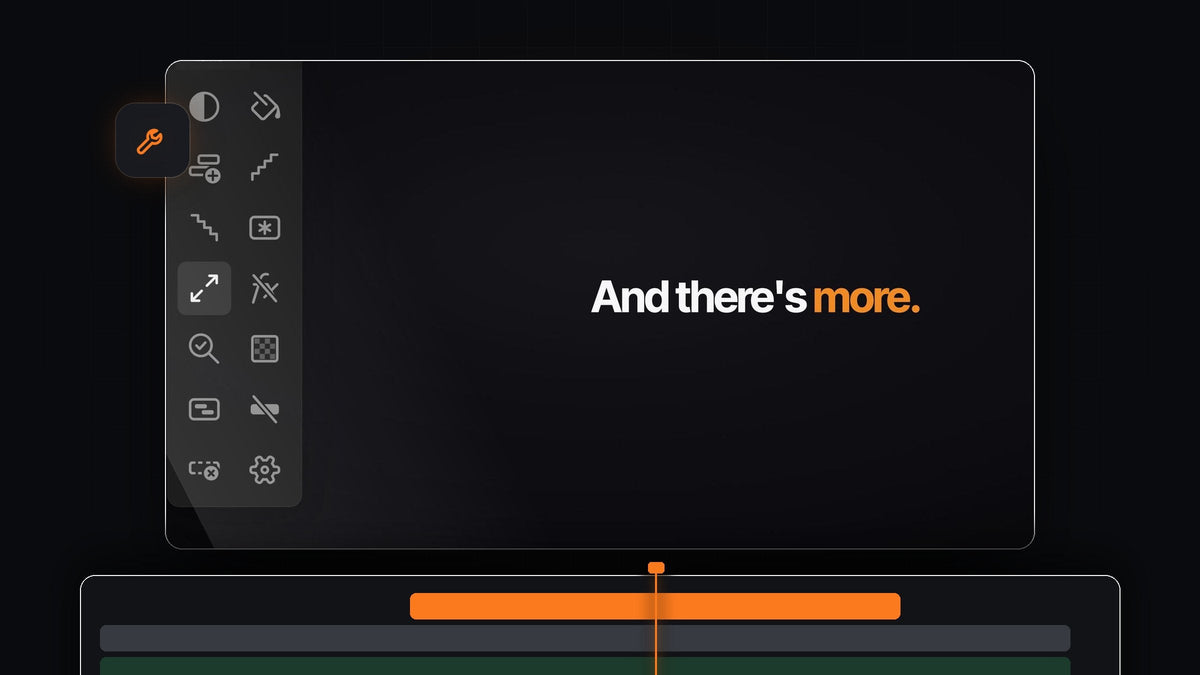
The short answer
Want Create Trimmed Adjustment Layer-style results inside Premiere Pro? Mako adds an adjustment layer trimmed exactly to your selected clips, in one click. It is free, on Mac and Windows.
No Project panel, no New Item dialog, no dragging the layer in and trimming its ends. Select the clips, click Adjustment Layer, and start grading.
What a trimmed layer means in Mako
A good adjustment layer starts and ends exactly where your shots do and sits right above them. Mako handles all of that for you, with a few simple rules:
- Cut to the selection. The layer begins with the first selected clip and ends with the last.
- On the first free track. It lands on the first free, unlocked track above those clips.
- Never over a clip. If there is no free track, Mako adds one rather than overwrite anything.
- At the playhead. With nothing selected, the layer covers five seconds from the playhead.
- Filed away. Every adjustment layer goes into a Mako bin, so the Project panel stays tidy.
Step 1: Install Mako
Check out for $0, with no card, no account and no license key. Open Mako.pkg on a Mac, or run MakoSetup.exe from the zip on Windows.
Restart Premiere Pro, open Window > Extensions > Mako and dock it next to your Tools panel. Mako works with Premiere Pro 2021 and later and keeps itself up to date.
Step 2: Select the clips to grade
Drag a marquee across the clips in your timeline, or Cmd-click (Ctrl-click on Windows) them one by one. Pick the whole scene, a single shot or a run of clips in the middle.

Your selection is the only input Mako needs. There are no settings to fill in for size, frame rate or duration.
Step 3: Click once for a trimmed layer
Click Adjustment Layer in the Mako panel. One layer appears over the selected clips, trimmed to fit, on the track above.

Drop Lumetri Color or a LUT on it and the whole selection gets the same look. Our guides to color grading in Premiere Pro and importing LUTs show what to put on it.
Step 4: One per clip with Shift
Sometimes each shot needs its own fix: a warmer interview, a brighter exterior, a darker night shot. Shift-click the button and every selected clip gets its own trimmed adjustment layer.

Stack the two approaches: a shared layer on top for the overall look, per-clip layers underneath for shot-by-shot balance. And with a Cmd-click (Ctrl-click on Windows), Mako puts a short 0.4-second layer on every cut instead, ready for flashes and whips.
Step 5: Move the looks off your clips
If effects already sit directly on the clips, a layer-based grade is easier to manage. Select those clips and click Clear Effects: every video effect is removed, while Motion and Opacity stay.
Now the look lives on one adjustment layer you can switch off, tweak or delete at any time. A clip that arrived at the wrong size? Fit to Frame scales it into place in one click, and a Shift-click fills the frame.
Keep every layer one key away
Right-click Adjustment Layer and choose Keyboard Shortcut. Give the normal click, the Shift-click and the Cmd-click a key each, and grading a sequence becomes select, press, adjust.
The same panel also drops color mattes, freezes frames, nests and unnests clips and runs a QC Check before export. Our Mako walkthrough covers all 13 buttons, or grab Mako now.
FAQ
What is the best Create Trimmed Adjustment Layer alternative for Premiere Pro?
Mako. It adds an adjustment layer trimmed to your selected clips in one click, or one per clip with a Shift-click, and it is free on Mac and Windows.
How do I make an adjustment layer the length of my clips in Premiere Pro?
Select the clips and click Adjustment Layer in Mako. The layer starts and ends with your selection, so there is nothing to trim.
Can I add a separate adjustment layer to each clip?
Yes. Shift-click the Adjustment Layer button and every selected clip gets an adjustment layer of its own.
Where do Mako's adjustment layers go in my project?
Into a Mako bin in the Project panel, so your project stays neat.
What happens if I click with nothing selected?
Mako adds an adjustment layer that covers five seconds from the playhead, on the first free track.
Trimmed adjustment layers in one click, for free. Get Mako for Premiere Pro.