by
by 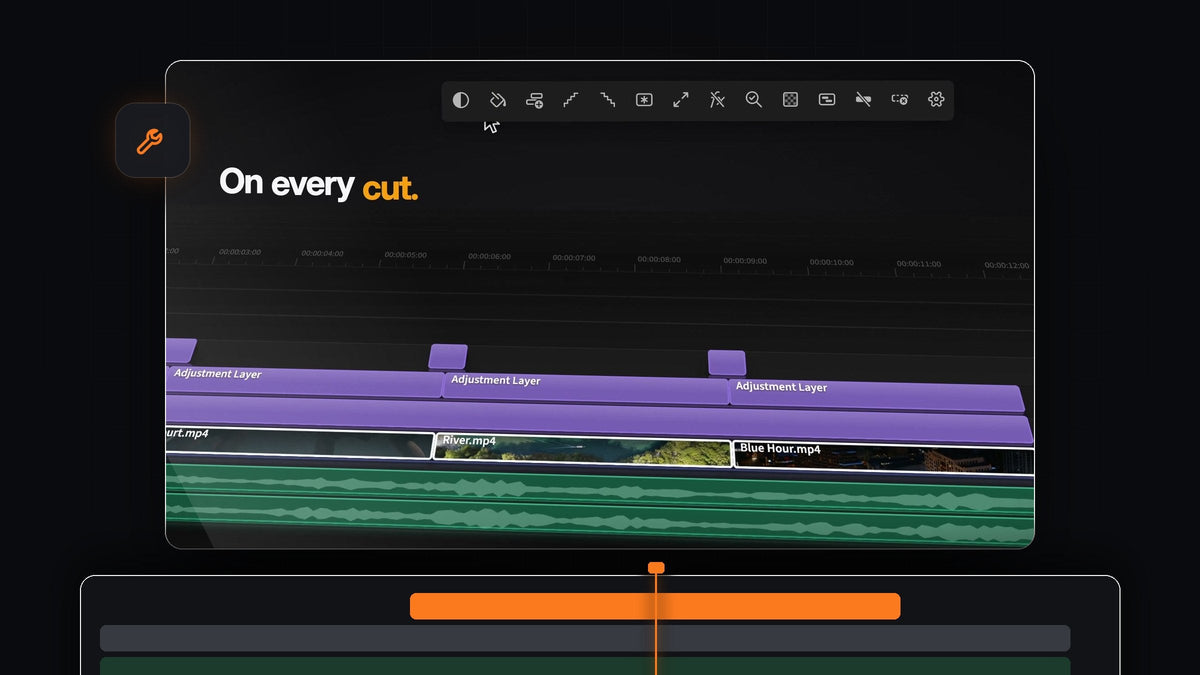
The short answer
Looking for a LayerDrop alternative for Premiere Pro? Mako drops adjustment layers and color mattes over your selected clips in one click, on the first free track. It is free, on Mac and Windows.
Install it with one installer, open the panel and click. Mako creates the layer, trims it to fit and puts it in place, all in a single click.
Where Mako puts your layers
The whole point of a one-click layer is that it lands in the right spot. Mako follows a few simple rules, every time:
- Over your selection. The layer starts and ends with the clips you've selected.
- On the first free track. It goes on the first free, unlocked track above those clips.
- Never over a clip. Mako never overwrites anything. If there is no free track, it adds one.
- At the playhead. With nothing selected, the layer covers five seconds from the playhead.
- In a Mako bin. Adjustment layers are kept in their own bin, so the Project panel stays tidy.
Step 1: Install Mako
Check out for $0, with no card, no account and no license key, and download Mako from the order confirmation page. On a Mac, open Mako.pkg. On Windows, run MakoSetup.exe from the zip, no administrator needed.
Restart Premiere Pro and open Window > Extensions > Mako. Dock it next to your Tools panel. Mako works with Premiere Pro 2021 and later and keeps itself up to date in the background.
Step 2: One adjustment layer over the selection
Select the clips you want to grade together and click Adjustment Layer. One layer spans the whole selection, cut to fit, ready for Lumetri Color or any other effect.

Anything you add to that layer affects every clip below it, which makes it the fastest way to set one look for a scene. Our guide to color grading video in Premiere Pro shows what to put on it.
Step 3: One per clip, or one on every cut
The same button has two more modes. Shift-click and every selected clip gets an adjustment layer of its own, for shot-by-shot looks.
Cmd-click (Ctrl-click on Windows) puts a short 0.4-second layer on every cut, all on one track. Add a glow, a blur or a zoom to that track and every cut gets the same punch. It is the perfect base for a flash transition in Premiere Pro.
Step 4: Drop a color matte in any color
Click Color Matte, pick a color and press OK. The matte lands over your selection by the same rules, on the first free track and never over a clip.

Use it for a title card background, a color wash with a blend mode, or a quick solid behind text. When you are working with cutouts, click Transparency Grid to check the edges against the checkerboard in the Program Monitor.
Step 5: Freeze a frame in place
Freeze frames are just as quick. Park the playhead on the moment you want and click Freeze Frame. The clip freezes on that frame right where it sits, for its whole length, with no new layer.

Shift-click to freeze just 3 seconds from the playhead instead, and the clip plays on normally after it. Unlike adjustment layers, freeze frames add nothing to your bins.
Put your layers on the keyboard
Every button can have a keyboard shortcut, and so can each click mode. Give Adjustment Layer, its Shift-click and its Cmd-click three keys of their own, and you can grade, stylize and add cut effects without leaving the timeline.
Right-click a button and choose Keyboard Shortcut, or set everything on the Shortcuts tab in Settings. A modifier and a key work, like Option + 1, or an F key on its own. For the rest of the panel, from Staircase to QC Check, see our full Mako walkthrough.
FAQ
What is the best LayerDrop alternative for Premiere Pro?
Mako. It adds adjustment layers and color mattes over your selected clips in one click, on the first free track, and it is free on Mac and Windows.
How do I add an adjustment layer with one click in Premiere Pro?
Install the free Mako panel, select your clips and click Adjustment Layer. Mako creates the layer, trims it to your selection and places it on the track above.
Can I add an adjustment layer to every cut?
Yes. Cmd-click (Ctrl-click on Windows) the Adjustment Layer button and Mako puts a short 0.4-second layer on every cut, all on one track.
What happens if there is no free track above my clips?
Mako adds a new track and places the layer there. It never overwrites a clip.
Is Mako really free?
Yes. There is no license key, no account and no trial, and updates are included.
Layers in the right place, one click each, for free. Get Mako for Premiere Pro.